Showing posts with label popscicle sticks. Show all posts

Friday, December 9, 2016

Sledding Down the Slopes - A Sled Ornament Day 9 of the Twelve Days of Ornaments


These ornaments are simple and fun to make especially if yu buy the prepainted popsicle sticks.

Supply List:

Painted popscile sticks

Mini craft sticks

Standard color popscicle sticks

Hot glue gun

Glue sticks

Paint

Small paint brush

Twine

Scissors

Holiday stickers (optional)


Directions:

Layout 5 painted poppsicle sticks in a staggered design and glue them together with hot glue. Note: instead of painting the popsicle sticks - they can be purchased in packs of colors already painted. I have also noticed that Pinterest crafters cover the popsicle sticks with Washi tape.


Then hot glue two mini popsicle sticks at the top and bottom of the sled.


Hot glue the sled blades on each side.


Wait for everything to dry before turning the sled over.


Once everything is dry a holiday sticker can be added to the front of the sled and a twine or ribbon loop can be glued onto the underside of the sled.

See you on the slopes! Merry Christmas!

Thursday, December 8, 2016

Back at the Lodge Ski Ornaments - Day 8 of the Twelve Days of Ornaments


I made these ornaments last year also. They are so simple to make and look fantastic on the Christmas tree or tied onto gift packages.


Supply List:

popsicle sticks

paint

paint brush

toothpicks

snaps

thin ribbon

twine

scissors

glue gun

glue sticks

Directions:

Paint the popsicle sticks in a color that matches your Christmas themed colors. You can also buy pre-painted popsicle sticks.

After the paint dries glue two popsicle sticks togather to resemble crossed ski's.


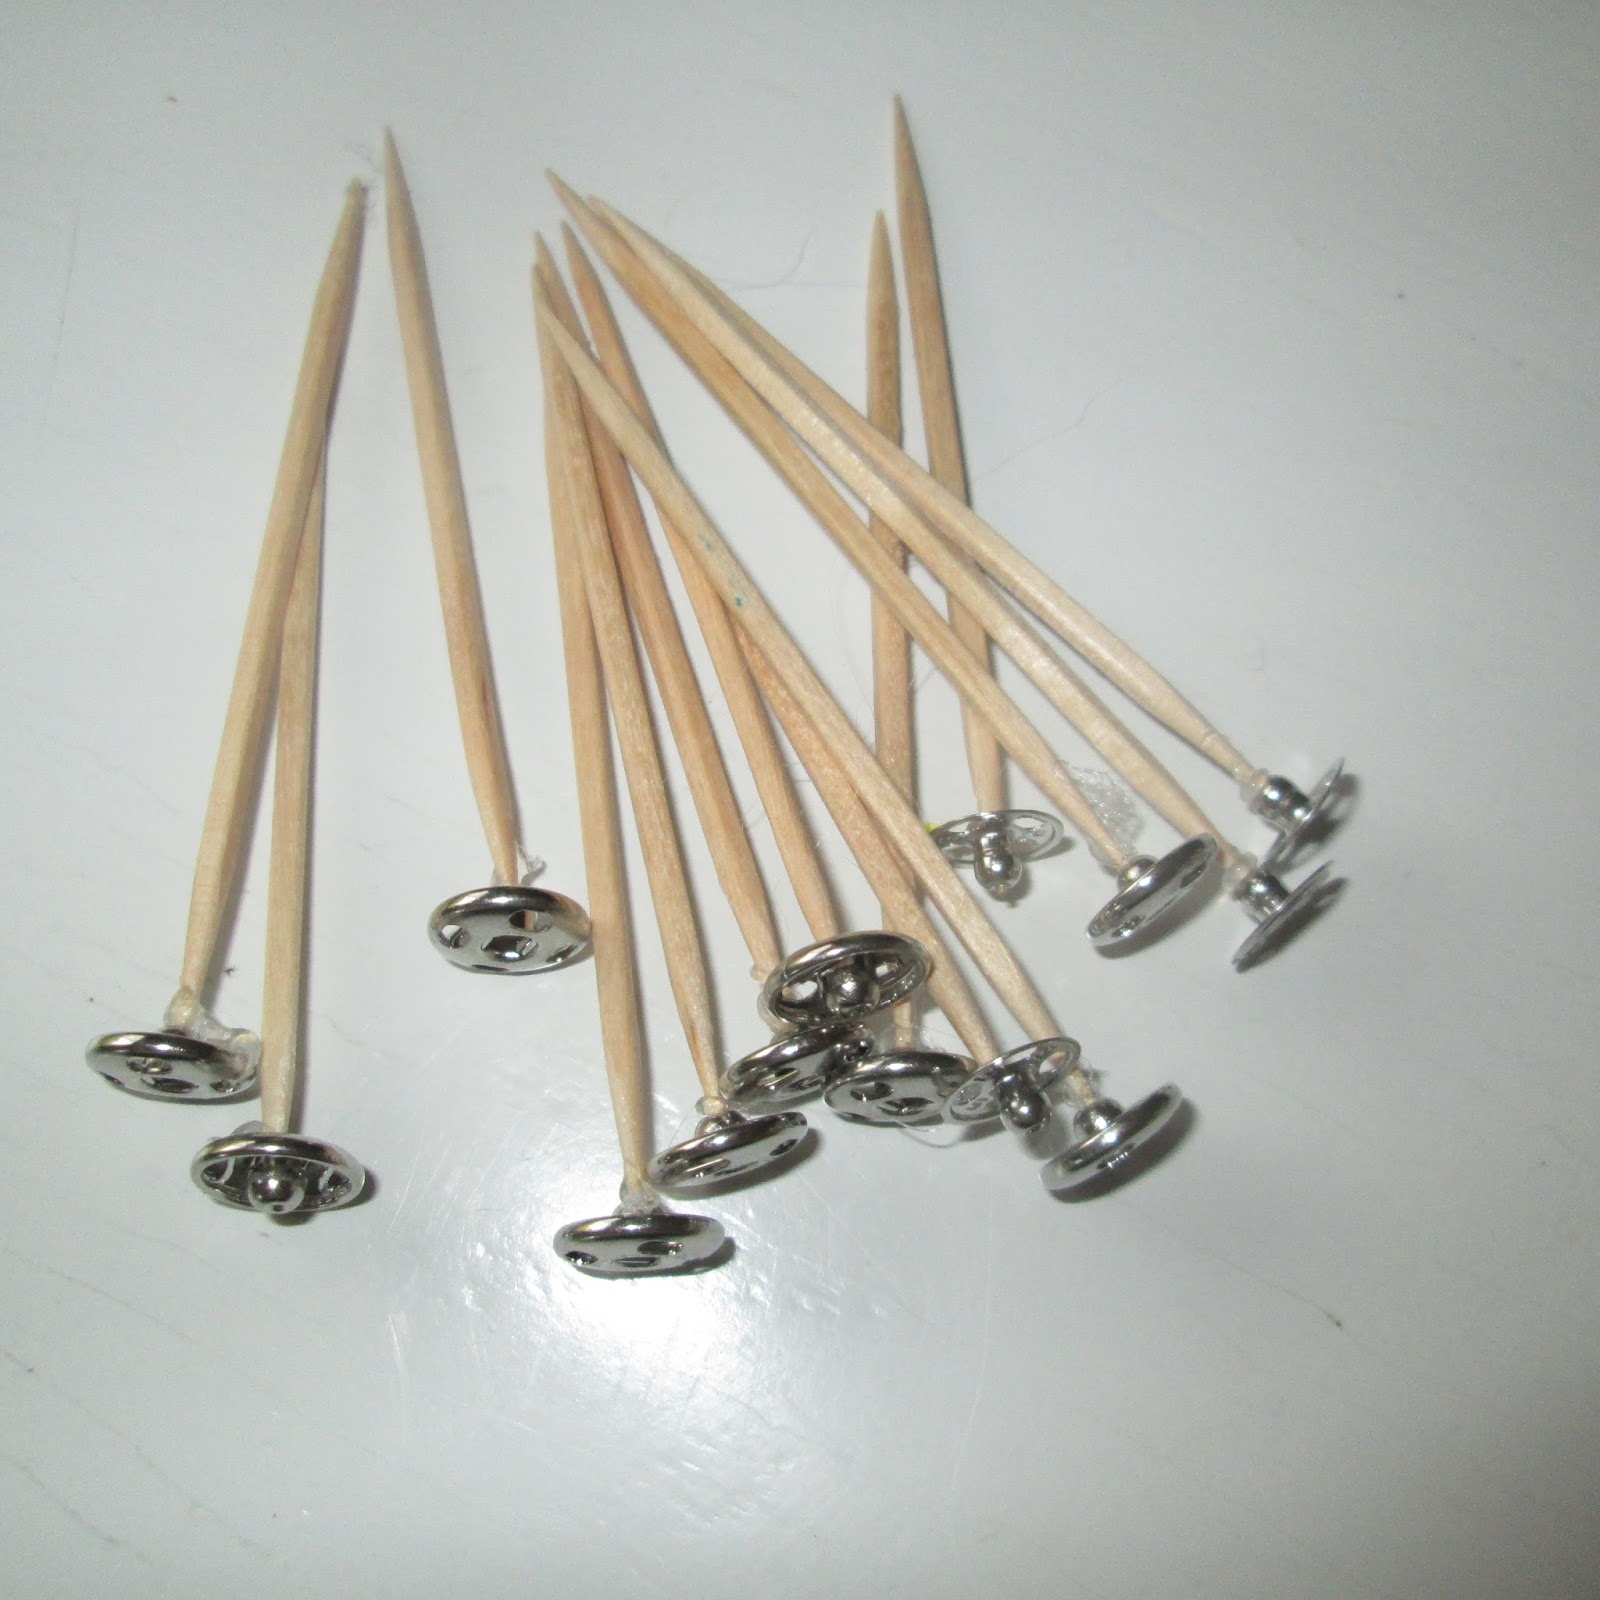
Hot glue a metal snap to the end of each toothpick.


 At the top of the toothpick glue a small ribbon or twine loop.to resemble the ski pole handles.


Glue a toothpick pole to one of the ski's and cross the other ski pole over it and glue into place.


Glue a piece of ribbon or twine to the back of the ornament. 


See you at the Ski Lodge! Merry Christmas!

Saturday, December 5, 2015

How Lovely Are Your Branches


Day 3 of the twelve days of ornaments. Actually I instagramed this late last night - so it really does count for day 3. Even though hopefully later I can post Day 4 and get back on track.

Supply List:

Music themed wrapping paper or scrapbook paper

Popsicle sticks

Glue gun and glue sticks

Scissors

Modge Podge

Foam brush

Silver paper

Star punch

Twine

Directions:

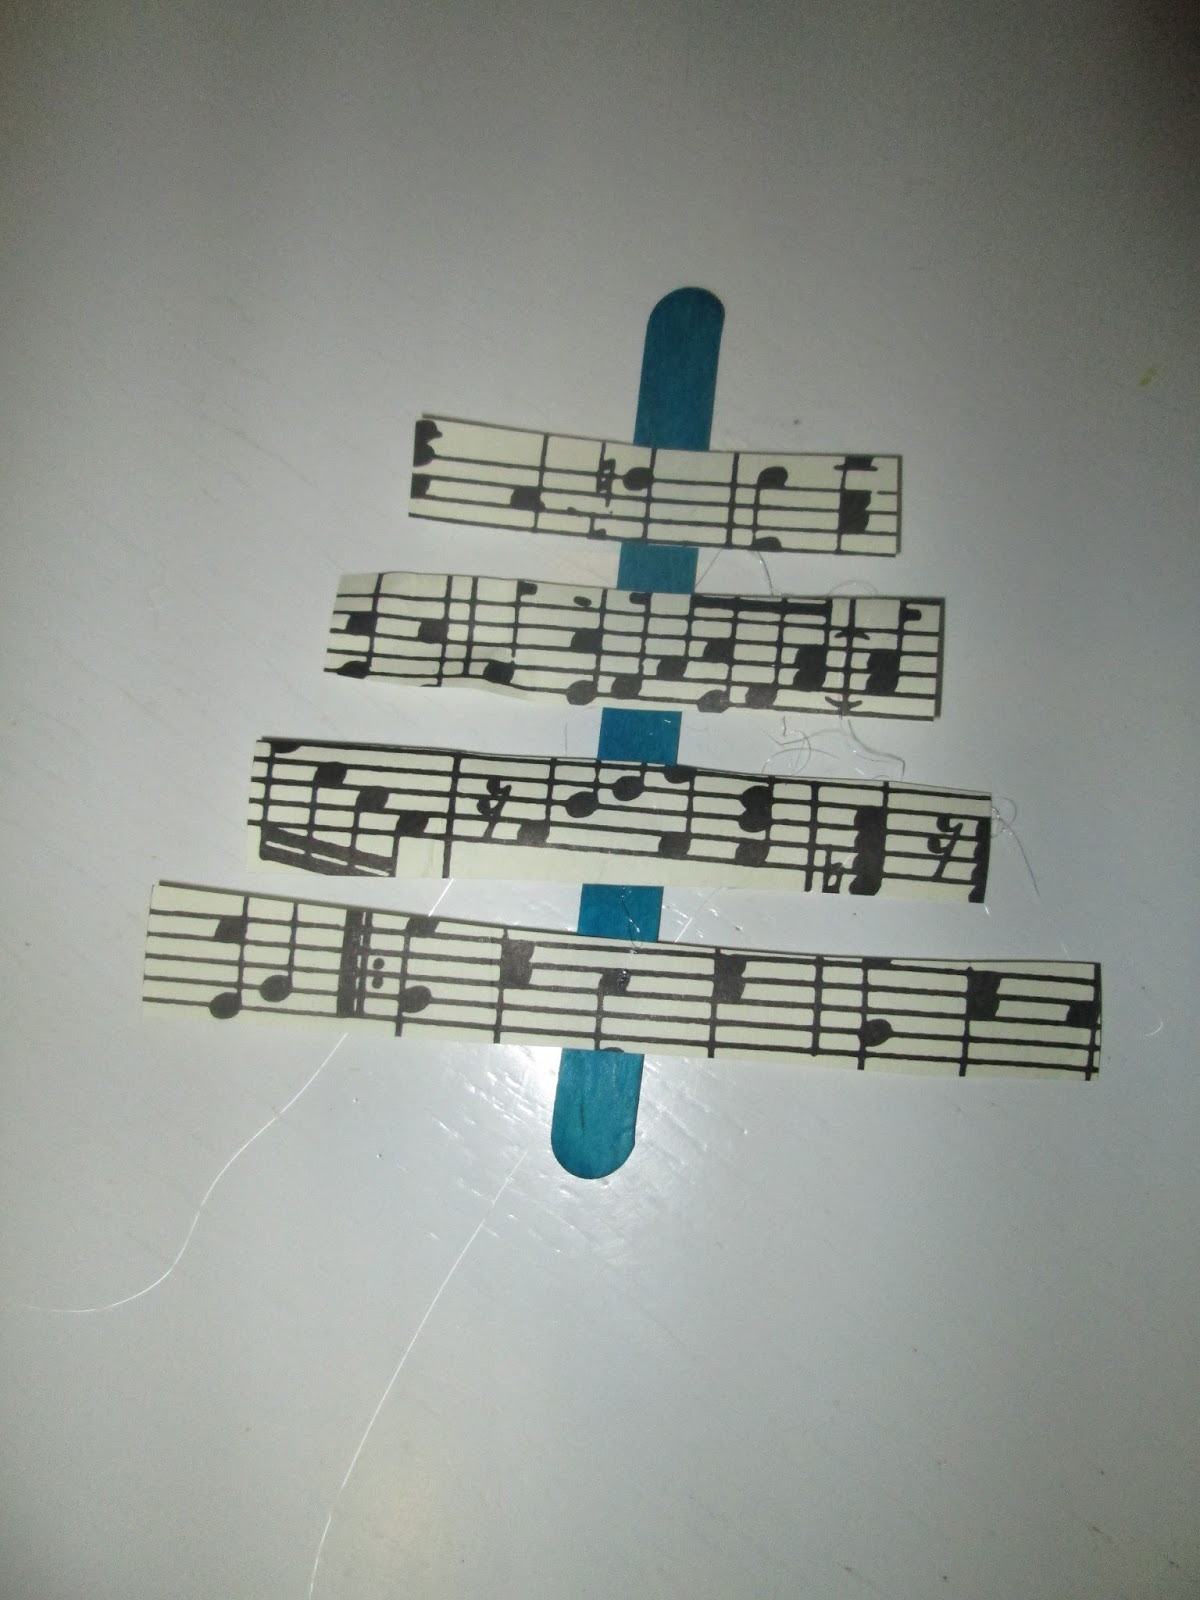
I used a colored popscile stick - but a natural popsicle stick would also look fantastic.

Cut the music paper into small strips and glue onto the popsicle stick.


I started working on a piece of foil. After the music strips have been glued onto the popsicle stick - lightly coat each strip with some Modge Podge.


Once the Modge Podge has dried  - the strips will be stiff and can be cut into a tree shape.


While the Modge Podge is drying - punch out the silver stars. Yellow stars would also look pretty.


Then I glue on the stars at the top of each popsicle stick.


Turn the ornament over and glue a twine loop so that this ornament can hang on the tree or tied onto a package. These would be cute to pass out to choir or orchestra friends.


Thursday, December 3, 2015

Meanwhile back at the Ski Lodge ....


Ski ornaments! Day 2 of the twelve days of ornaments that I will be posting! 

Supply List:

Colored popsicle sticks

Toothpicks

Snaps

Thin black ribbon

Scissors

Glue gun and glue sticks

Directions:

I googled how to make these ski ornaments and all of the other people who have made these ornaments painted natural colored popsicle sticks. Why? You can buy packs of pre-painted popsicle sticks. I have seen them at Michael's, Hobby Lobby and JoAnne's.

The first step is to glue the popsicle sticks.


Then hot glue a snap on the toothpick.


At the top of the toothpick hot glue a little ribbon loop. Then the toothpicks can be hot glued onto the popscile sticks.


Once all the toothpicks have dried turn the ski's over and hot glue a ribbon loop.  


These would look cute on the tree or tied onto a package. You could make a bunch of different colors and give them to your favorite ski friend!


Tuesday, August 11, 2015

School Bus Made with Popsicle Sticks For Meals on Wheels


 I made 50 school buses for a Meals on Wheels September party favor. These would be cute to make for a back-to-school party! I also think they would make fun decorations for teacher appreciation week.

Supply List:

jumbo popsicle sticks

small popsicle sticks

yellow paint

foam paint brush

glue gun

glue sticks

large rhinestone

brads

thick black scrapbook paper

circle cutter

Exacto knife

black Sharpie pen

Directions:

Paint all of the popsicle sticks that you will be using. Each school bus needs 4 jumbo popsicle sticks and 4 small popsicle sticks.


I found the jumbo sticks and small sticks at Michael's. 


Since I was making 50 buses - I had to paint a ton of popsicle sticks.


I paint while I watch my favorite television shows.


While the popsicle sticks were drying - I used a circle cutter and cut out all of the wheels. Using an Exacto knife make a small hole in the center of the circle and add the brad.


The first step is to hot glue 3 jumbo sticks together. 


Turn the jumbo sticks over and glue the four small sticks - yellow side facing down.


Once the four sticks have set turn the popsicle sticks back over.


The final steps are to add the large rhinestone to the middle jumbo popsicle stick. Glue on a jumbo popsicle stick to the top of the small popsicle sticks. Using a black Sharpie pen write school bus or the name of your school. And finally glue the wheels on the bottom jumbo popsicle stick.


Once I made 50 of these buses - over a three day period. I needed to take a little break.


I am going to label and package these buses next week. Hopefully I will remember to take photos of the packaging!

Wednesday, January 14, 2015

Popsicle Stick Sled Ornaments


I made 50 of these little sleds for Meals on Wheels. They can put them on a coffee table, mantle or end table as a little decoration. When I started making these the weather was rainy and really cold. Now we are experiencing warm weather.  January, go figure! They were really easy to make - just many steps!

These sleds would look adorable tied onto Christmas packages.

Supplies:

colored popsicle sticks

wooden popsicle sticks

half size wooden popsicle sticks

metallic silver paint

paint brush

glue gun, glue

silver cord, twine or ribbon

winter themed stickers

cellophane bags

Directions:

Buy the colored popsicle sticks - then you don't have to paint them!


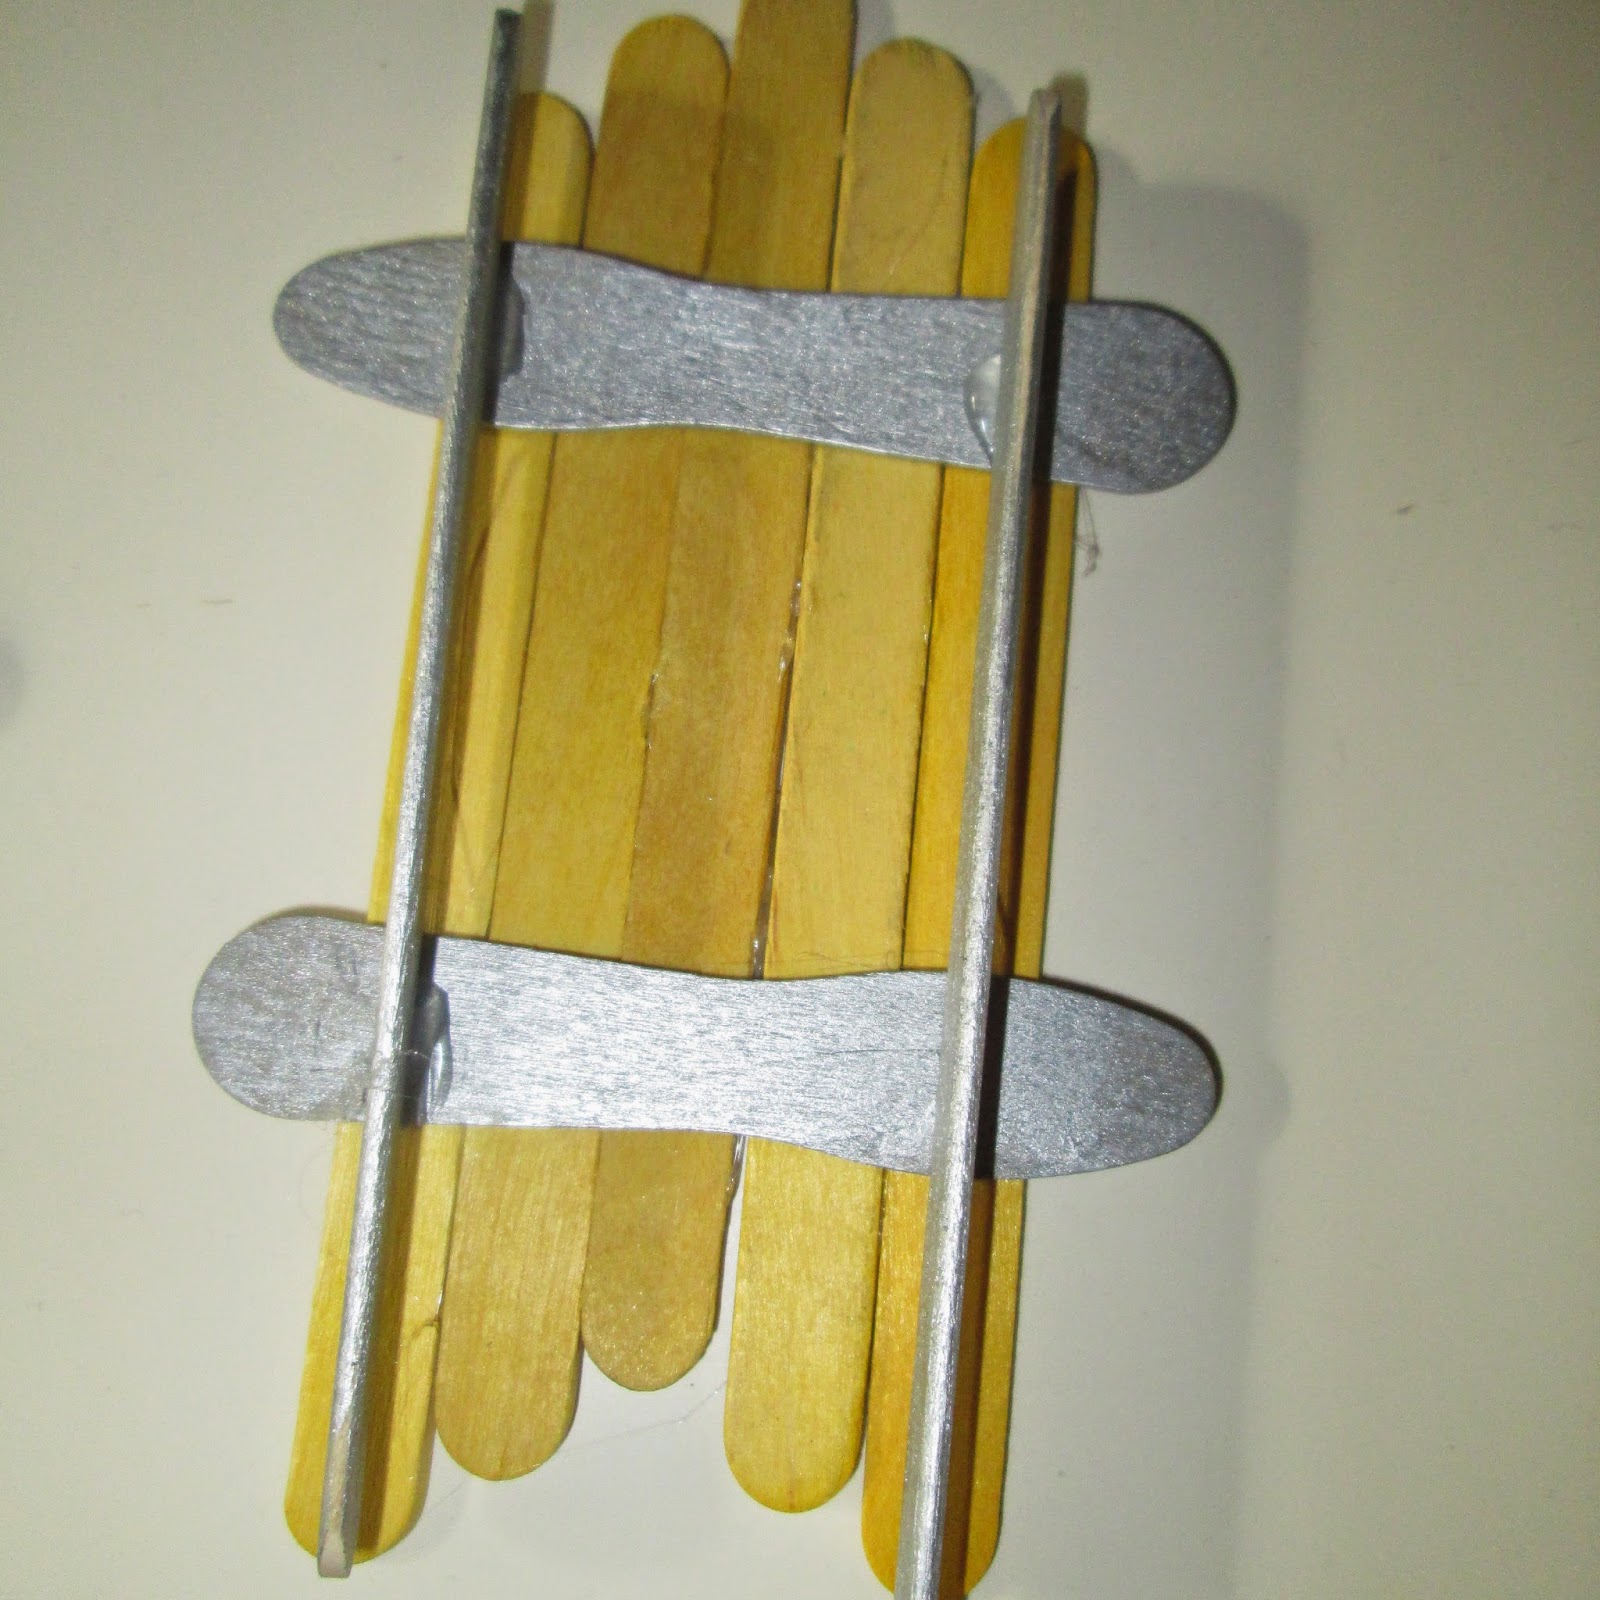
 Layout the colored popsicle sticks in a sled pattern.


Use  a very small amount of hot glue between each popsicle stick. 


Paint the wooden popsicle sticks and half size popsicle sticks in the metallic silver paint on both sides.


Hot glue the half size silver painted sticks near the top and bottom of the sleigh. Then hot glue the blades on and let set.


The last step includes adding a coordinating sticker and glueing a piece of twine or cord to make a loop.


I made these sleds in every color and I was thinking how cute they will look on my tree next year. 


I was originally thinking about cutting some mitten shapes out of polka dot and striped scrapbook paper and Modge Podging the mittens to the sled. Maybe I will make the mittens when I make these again in December!


So I ended using some snowflake and snowman stickers to decorate the sleds.


I started lightly sanding some sleds to give them a distressed look.


I think the red sleds are my favorite. 


Even though Christmas is over I still enjoy making ornaments! I hope that the Meals on Wheels recipients enjoy these little sleds.

This would be a good project for classroom or craft group.


Tuesday, April 1, 2014

Maracas For Meals on Wheels


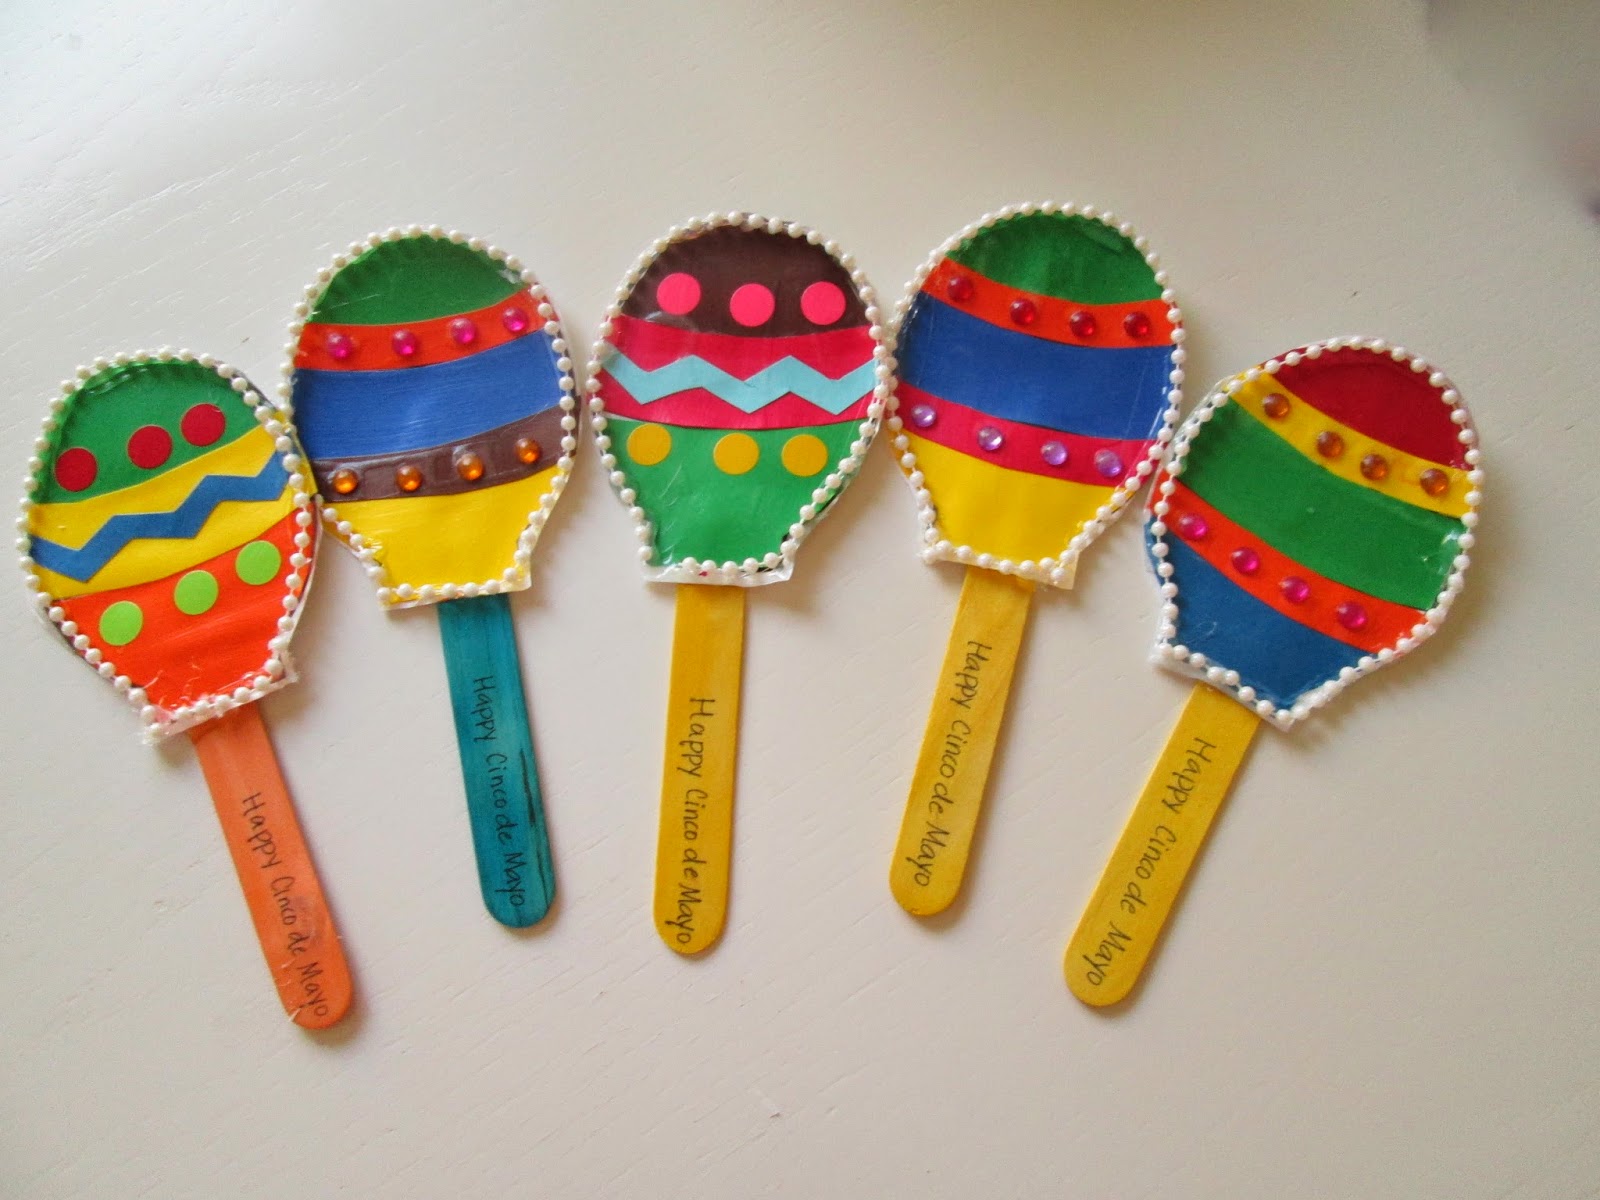
I have been making little treats each month for Meals on Wheels. For Cinco de Mayo I made some Maracas. I think they came out really cute! Now these took me a long time because I made over 50 - but if you just wanted to make a few it shouldn't take very long!


I found this pattern on the Michael's website. P.S. it is a pattern for kids! But I made a bunch of copies and patterns out of cardboard.


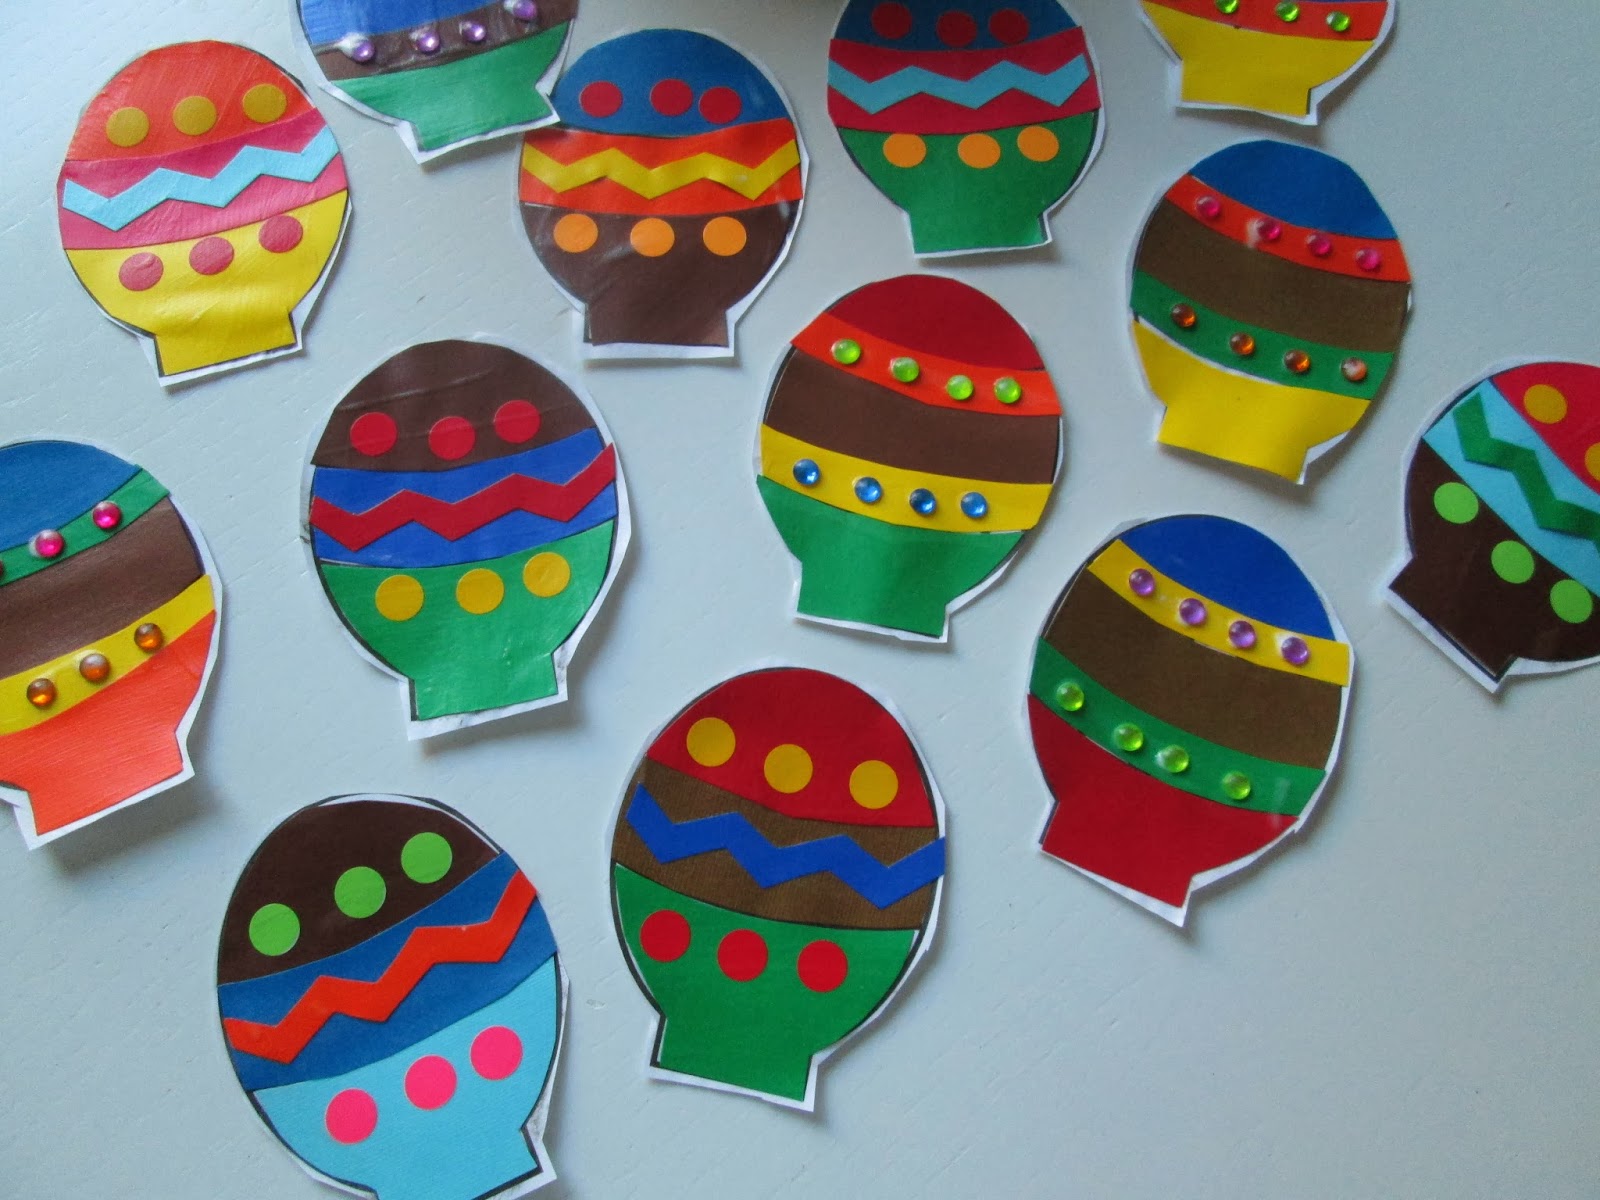
I cut out scrapbook paper and attached it to the photocopy with a glue stick. Then I added stickers and adhesive rhinestones. Then every single Maraca was coated with Modge Podge.


It took the Modge Podge a long time to dry.


Once the Modge Podge dried the Maracas were completely stiff - I was able to cut them out.


I left a little white around the Maracas because I planned to add an edge of pearl ribbon. I bought the pearl ribbon at Hobby Lobby. It was in the fabric section and they had a ton of colors in the pearl style of ribbon.


I bought the colored popsicle sticks at Hobby Lobby and wrote on them "Happy Cinco de Mayo."


Then I hot glued the popsicle sticks to the back of the Maracas.


Then each Maraca got a little pearl ribbon hot glued around the Modge-Podged section.


The pearl trim - just adds a little something extra!


I had black, white and silver pearl ribbon. So each of the Maracas is just a little bit different. These were really fun to make. They would make cute decorations for your Cinco de Mayo party. They would also be cute place cards for any Mexican Fiesta!