Showing posts with label Pipe Cleaner Ring. Show all posts

Wednesday, May 18, 2016

Pipe Cleaner Teddy Bears for Meals on Wheels


I have been fascinated by all the things you can make with pipe cleaners ever since I made Kate's engagement ring out of a blue and silver pipe cleaners. I love these teddy bears - they are so very simple to make.They would look cute made into pins or magnets. They would also look adorable glued onto a headband or barrette. And of course an awesome Christmas ornament.

Each teddy bear requires two pipe cleaners and three small black beads.

Cut the first pipe cleaner into three pieces - 2-inches, 3 1/2 inches and 4 1/2 inches.


Fold ears, arms and legs into the center.


Take the 2nd pipe cleaner and wind it around the ears four times. This creates the head.


Place the arms under the chin and the legs under the arms.


Wrap the long pipe cleaner from each shoulder though the legs on each side. Contine wrapping and tuck the final piece into the body area.


Place a toothpick into some Tacky glue and place the glue onto the eye and nose area. Add the small black beads onto the glue spots and let dry.


The black seed beads come in these little tubes.


Since I am making these for Meals and Wheels I must make 50! I made almost 30 in the blink of an eye!


Each Teddy Bear has a slightly different shape and personality.


Thursday, April 14, 2016

Pipe Cleaner Butterfly Magnets for Meals on Wheels


I made 50 of these little Pipe Cleaner Butterfly Magnets. They were simple to make - I made these into magnets but they would also look cute made into bracelets or rings. Pipe cleaners are so fun! Give your kids a bag and let them create!


Supply List:

Multicolored pipe cleaners

Wooden or plastic pony bead

Sharp scissors

Small magnets

Glue gun and glue sticks

Directions:

Grab three different colors of pipe cleaners.


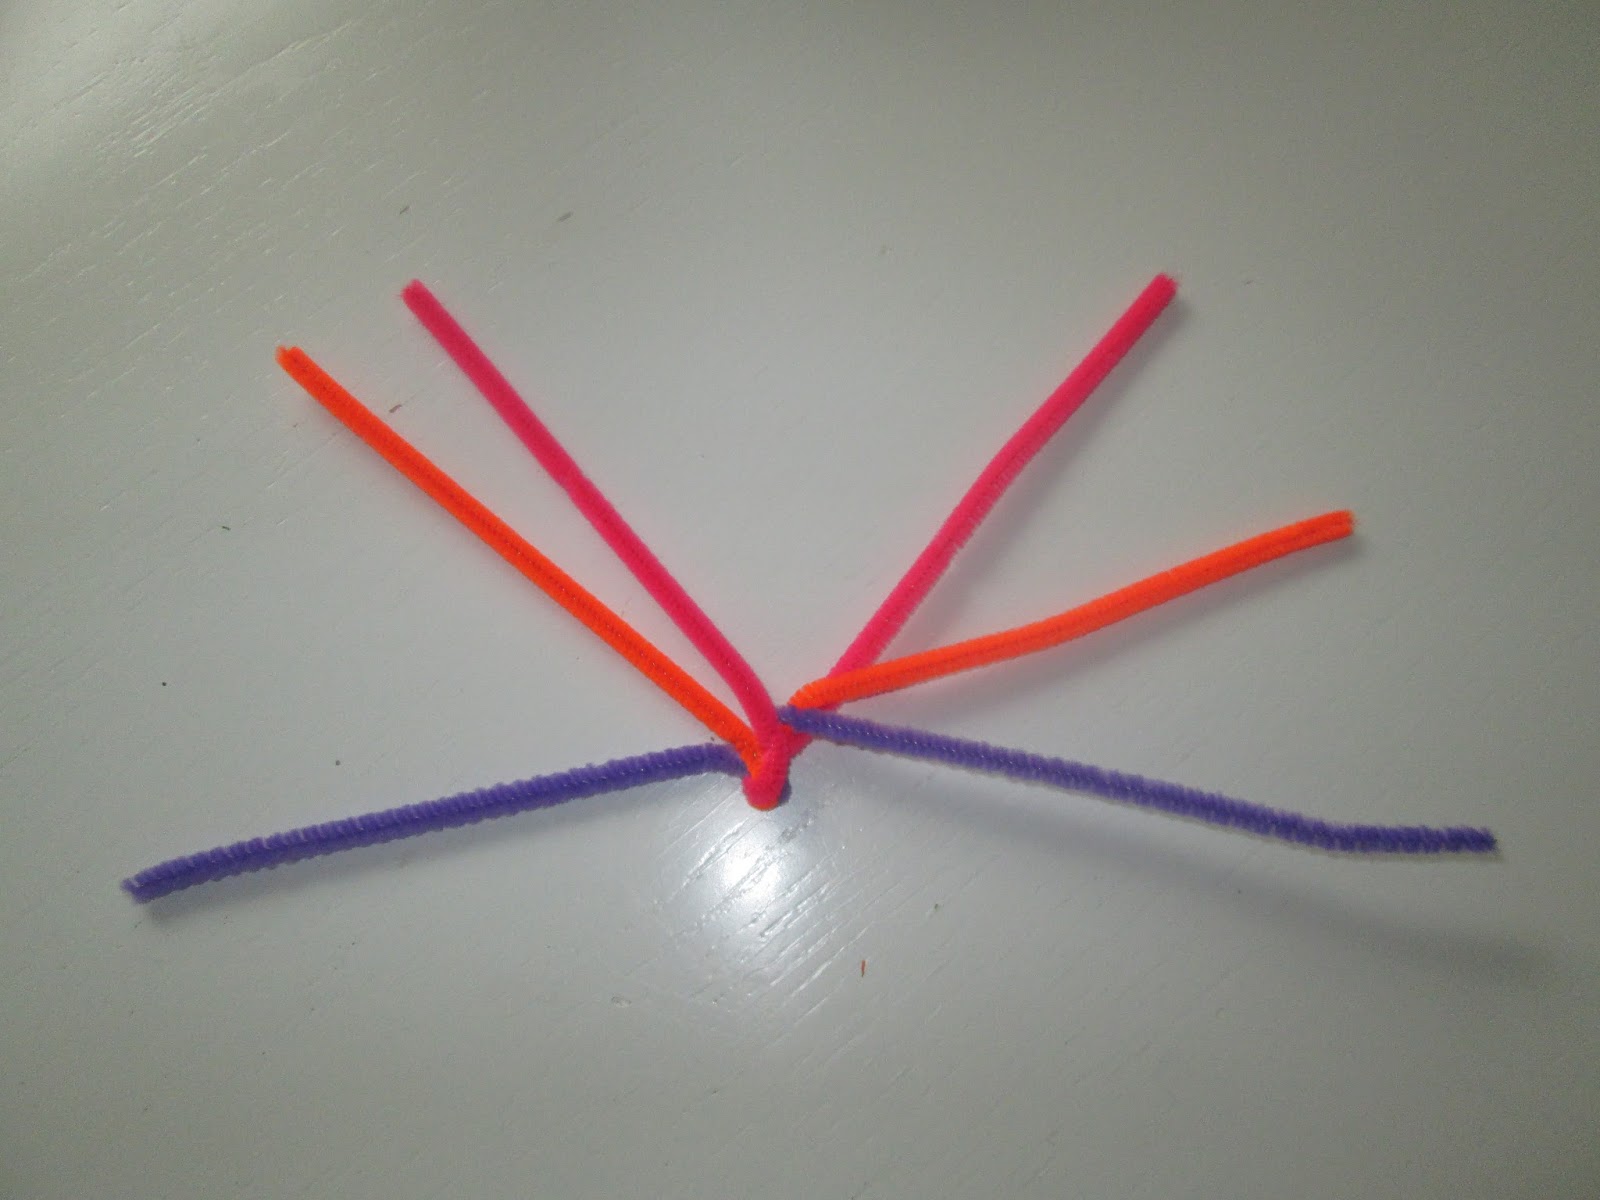
Twist the pipe cleaners in the middle and spread out like whiskers.


Twist the bottom color of pipe cleaners into little rounds.


Then twist the second pipe cleaner into little rounds.


Pop the pony bead onto the top of the remaining color of pipe cleaners and cut the pipe cleaner inhalf.


Turn the top pipe cleaner over into an antennae shape. 


On the back I hot glued  a small magnet.


I used the smallest magnet because  the pipe cleaners are so light. And I awlays package the treat into little bags so they can be attached to the meals.


These were so easy to make and would be perfect for girls to make at a craft or birthday party.


Monday, November 14, 2011

Pipe Cleaner Cocktail Rings

Okay for my Father-in-Law's birthday I made cigars for the gentlemen and now I have made Cocktail Rings for the ladies.


And yes - I will be displaying them on and in Tiffany Boxes. Presentation is everything. Don't you agree?


Use the sparkly pipe cleaners and each pipe cleaner makes one cocktail ring.


These are so simple to make! And a super fun birthday party favor for any age. The sparkly pipe cleaners are available at any craft store or in the craft areas of Target or Walmart.


Wrap the pipe cleaner around your finger and twist a few times.


Start wrapping one end of the pipe cleaner into a small circle on top of the ring.


Then wrap the other end in a circle tightly around the first circle. So easy!


I think that the ladies will really enjoy these Cocktail Rings! I made diamond, ruby, emerald and sapphire rings! This would be a fun holiday craft to make in red (ruby) and green (emerald).


If you want to make more complicated - two color rings - check out my Pipe Cleaner Ring Post dated April 27, 2011. I made Kate Middleton's ring out of Pipe Cleaners.

Enhanced by Zemanta

Wednesday, April 27, 2011

My Version of Kate's Ring - A Pipe Cleaner Ring!

Today I made Kate's ring out of pipe cleaners - yes pipe cleaners. Pipe cleaner cocktail rings are all the rage!


Here are the instructions in case you want to make some!


You will need three silver pipe cleaners and 1/2 of a sparkling blue pipe cleaner.


Twist the silver pipe cleaners in the middle three or four times - this should resemble kitten whiskers.


Then twist the pipe cleaner around your finger to make a "ring" shape. Keeping the "kitten whiskers" on top.


Now spread out the top twisted area and start curling in the tops.


This is the ring from a different angle.


Slowly curl in each of the top pipe cleaners.


Once all of the silver top layers are curled in - cut a blue pipe cleaner in half and place it through the middle of the ring. Adhere the blue pipe cleaner to the ring below and twist in to make the sapphire.


I made a bunch to give to my tennis team at our Friday match and for Noelle to give her friends on Friday.