Showing posts with label Meals on Wheels. Show all posts

Friday, March 2, 2018

Saint Patrick Day Necklaces for Meals on Wheels


Supply List:

small round wooden disks

gold paint

small paint brush

shamrock sticker

Modge Podge

hot glue 

green pony bead

thin green ribbon

Directions:

I bought the wooden disks at Hobby Lobby.


Paint the disks with gold metallic paint on both sides and the edges.


Once the gold paint is dry add a Shamrock sticker to the middle of the disk. And hot glue a green pony bead in the sideways position.


Cover the sticker with Modge Podge.


Once the Modge Podge is dry add a ribbon loop to form a necklace.


These would make a cute school or sports team craft idea. I was excited to finish this project so early!


Sunday, January 28, 2018

Charlie Brown Peg Dolls for Meals on Wheels


I made these Charlie Brown peg dolls for a Meals on Wheels Valentine project.  I packaged them with a glitter heart and a tag that said "Good Grief it's Valentine's Day!"

I think they came out super cute - but since I was making 50 a deleted a few steps. Also because I was making 50 peg dolls I ordered them from Amazon.

Supply List:

men shaped peg dolls

yellow paint

black paint

sharp pencil

small paint brushes

black fine tip Sharpie pen


Directions:

Always save pieces of cardboard to use when painting peg dolls.


Paint the body with two coats of yellow paint. Let the paint dry in between coats.


Using a sharp pencil draw the zig zag shape on the middle of the body. If you have extra time the zig zag could be moved up and a small black band could be painted on the bottom which would replicate shorts. Because I was making 50 I skipped the shorts step.


Using the black paint and a very thin teeny tiny paint brush paint inside the pencil zig zag lines. This took a really long time. 


Another step I skipped was painting the head with flesh toned paint. I used a fine tip black Sharpie to draw the face directly onto the wooden head.

Lately I have been sewing a lot of Meals on Wheels projects with felt and I wanted to do something different. And I do love a little peg doll. 

I am going to bring these to the Meals on Wheels office tomorrow and then start working on a March themed party favor.

God Bless all of the Meals on Wheels volunteers! 

Monday, November 20, 2017

Felt Holly Pins for Meals on Wheels


I think these came out super cute! They would look fantastic on top of a Christmas package. They would make an easy ugly sweater by pinning them all over a sweater.


Supply List:

red felt

green felt

red embroidery thread

green embroidery thread

pin with latch

needle

scissors

template 


Directions:

Cut out the leaves and circles. I used a quarter to trace the the red holly berries. I downloaded a leaf pattern and traced the leaves.  Then I cut out the leaves and holly berries. Each pin needs two leaves  and three holly berries.


Overlap the green leaves and sew them together at the bottom and sew some random veins on the leaves.


Sew the holly berries onto the end of the leaves. Overlap the berries and sew with a running stitch.


The pins with the latches are often found in the jewelry sections of craft stores.


Lightly sew the pin on with green thread.


Have a Holly Jolly Christmas!


Thursday, October 5, 2017

Felt Turkeys For Meals on Wheels


Because i was making 50 of these turkeys for Meals on Wheels I did not follow the tutorial with the pattern that I used. She used a blanket stitch on the feathers and a running stitch is easier and takes a lot less time to execute. Also she used tiny pieces of black felt for the eyeball and I used a black seed bead. However, I think mine came out super cute. I love them - they are so cheerful. They would also make an adorable garland. And would look so cute  on top of a See's candy stick or a pencil.

Supply List:

orange felt

yellow felt

brown felt

red felt

white felt

black seed beads

yellow embroidery thread

white embroidery thread

black embroidery thread

red embroidery thread

brown embroidery thread

needles

scisscors

template from www.frogprincepaperie.com
in the finder box type in "tutorial Thanksgiving turkey finger puppets"


Directions:

Cut out all of the pieces you are going to need. I was making 50 of these felt turkeys so I was cutting the felt out for days.


Sew the yellow feather on top of the orange feather with a running stitch and white embroidery thread. Then using yellow thread add a running stitch around the orange feather. Set these aside.


On the front brown piece sew the white felt dot with a black seed bead on top using black thread and a small needle.


Sew the waddle onto the right side of the brown piece using red thread.


Using yellow thread sew the yellow beak over the top of the waddle.


Put a plain brown piece to cover the messy part of the front piece. Using a whip stitch tack both brown pieces to the front of the feathers. Leave the bottom of the brown pieces open, only sew the sides.


Happy Thanksgiving!


Sunday, September 24, 2017

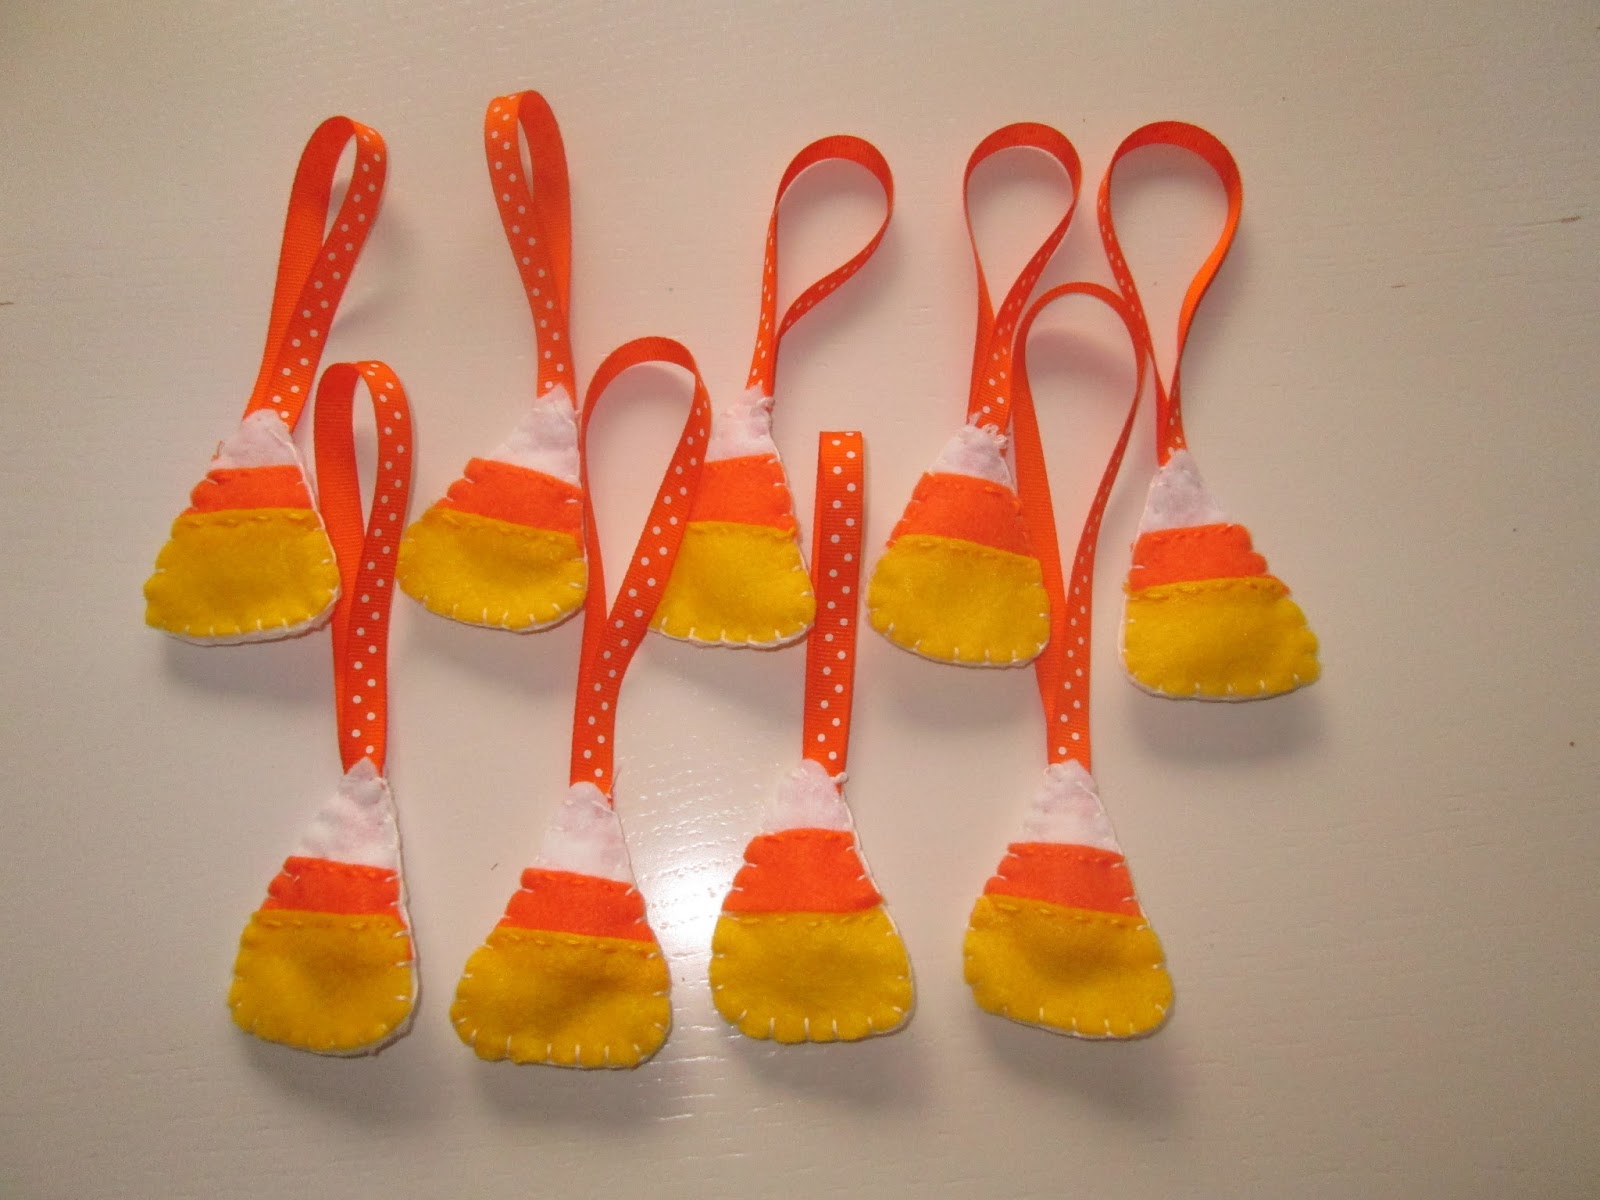
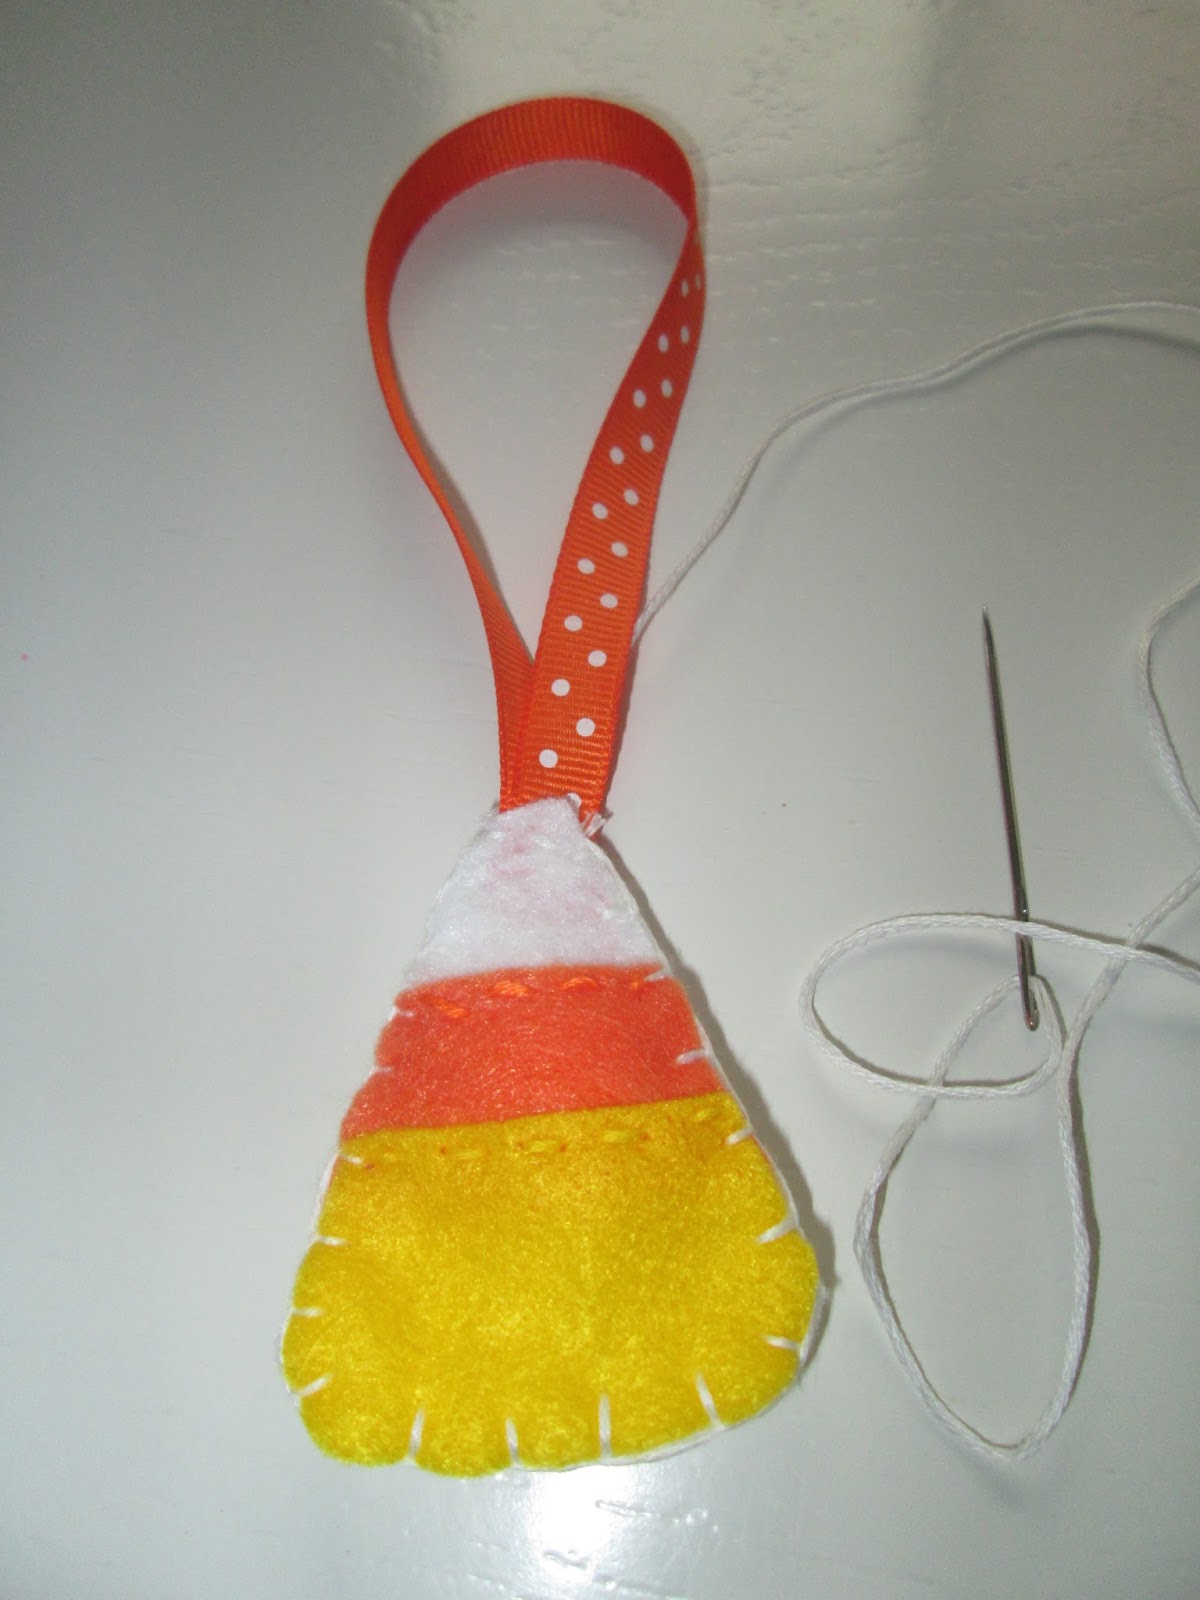
Felt Candy Corn For Meals on Wheels


I made 50 of these little felt candy corns for Meals on Wheels. I thinks they would make an awesome banner on a long ribbon or tied onto a gift box for an October birthday gift.

Supply List:

white felt

orange felt

yellow felt

orange thin ribbon

yellow embroidery thread

white embroidery thread

orange embroidery thread

scissors

needle

stuffing or cotton balls

template from www.feltwithlovedesigns.com


Directions:

Cut out all of the pieces using the Halloween template from Felt with Love Designs.  She actually  sewed a happy face onto her candy corns.  Since I was making 50 candy corns I  had to delete that step.

 Using the orange thread sew the orange piece onto the front piece of the candy corn using a running stitch.


The sides of the orange don't need to be sewn - just the top and bottom.


Sew the yellow piece overlapping the orange piece. Just sew the top of the yellow piece using the yellow thread and a running stitch.


Since I was making 50 of these little candy corns - I worked in batches.


Once the front piece is sewn with both the yellow and orange - you will need a solid pice of white triangle felt, a 8-inch piece of ribbon and a little stuffing or cotton ball.


Sew the front piece to the back piece using white thread  and a blanket stitch- before sewing the candy corn shut sew the ribbon into a loop and add a little stuffing or a cotton ball.


I feel so organized that I completed the Meals on Wheels Halloween treat in September!


Thursday, August 10, 2017

You Are My Sunshine - for Meals on Wheels


I made 50 of these little felt suns for Meals on Wheels. I am going to package them with lyrics to "You are my Sunshine."


I have been in vacation mode all summer - so whenever I am home doing vacation laundry I work on this little project.  I know that they will love this little gift.

I found the instructions and template on bugsandfishes.blogspot.com.es Unfortunately, because I was making 50 of these I  had to delete some of the steps. Laura's at bugs and fishes are so much cuter than mine. I didn't sew the orange pieces to each other and I didn't  stuff the yellow sun face before sewing them shut.

This would be a good service project for pre-teen and teenagers to make for a senior center.

Supply List:

yellow felt

orange pen

orange felt

brown pen

black Sharpie pen

yellow embroidery thread

black embroidery thread

needles

black seed beads

small sharp scissors

template from bugsandfishes.blogspot.com.es

glue stick

thin piece of cardboard

Directions:


I used a glue stick to adhere the template to a thin piece of cardboard. Each sunshine needs two round pieces of yellow felt. Trace them with an orange pen.


Each sunshine also needs two pieces of orange felt sun rays. Trace them with a brown pen.


Once the sun rays have been cutout the front is stitched like the above picture with yellow thread.


Using a black Sharpie pen lightly make a face. The front of the sun will get black seed beads sewn onto the black dots and a tight running stitch for the mouth with black thread.


So this is what each sunshine needs and sewn in this order.


Using yellow thread sew the top pieces onto the bottom pieces. This is the front.


And this is what the back looks like!


This is such a cheerful project! Tomorrow I need to print out 50 copies of the "You are my Sunshine" lyrics and find cellophane bags for packaging. My goal is drop them off at Meals on Wheels by Tuesday!

Tuesday, July 25, 2017

Clothespins Painted to Look Like Pencils


I made a ton of these pencil clothespins for Meals on Wheels. They were so easy to make.

Supply List:

clothespins

yellow paint

pink paint

paint brush

black Sharpie pen

Directions:

Paint the back side of the clothespin yellow.


Once the back of the clothespin is dry - turn it over and paint the top of the clothespin pink.


Then paint the body of the pencil  yellow - leaving a space at the bottom for the pencil point.


Once the yellow and pink paint is dry - take the Sharpie and make a line between the eraser an pencil and draw a squiggle line and pencil point.


This was a fun craft. If I wasn't making a ton of these I would have added a number 2 to the pencils.


These can be used for chip clips, photos, school papers etc. 

Sunday, June 25, 2017

July 4th Decorations for Meals on Wheels


I made 50 of these little decorations for Meals on Wheels. They were actually fun to make and look so cheerful. I had everything I needed to make these fun ornaments in my craft cabinet. This project would look awesome made into a banner type project.

Supply List:

red, white and blue fabric 

red, white and blue felt

red, white and blue embroidery thread

red, white and blue buttons or beads

red, white and blue narrow ribbon

round cookie cutter

star cookie cutters

black pen

sharp fabric scissors

cotton batting, cotton balls


Directions:

Using the black pen trace two circles for each ornament onto a red, white or blue fabric or felt.

Start cutting the circles. The cutting is always my least favorite part of any project. I made 50 ornaments so I had to cut 100 circles.

Using the star cookie cutters trace 1 star for each ornament that you are making.


Sew a star on the front of each ornament with a simple running stitch.


I sewed a button in the middle of each star.


Cut a 6" piece of thin ribbon and sew the back to the front - sewing in the ribbon at the top in a loop. Before sewing the ornament all the way closed add some batting or a few jumbo cotton balls.


These ornaments would look cute on an indoor doorknob or on a bulletin board.


They look so cheerful! Have a wonderful July 4th!