Showing posts with label Halloween. Show all posts

Sunday, September 24, 2017

Felt Candy Corn For Meals on Wheels


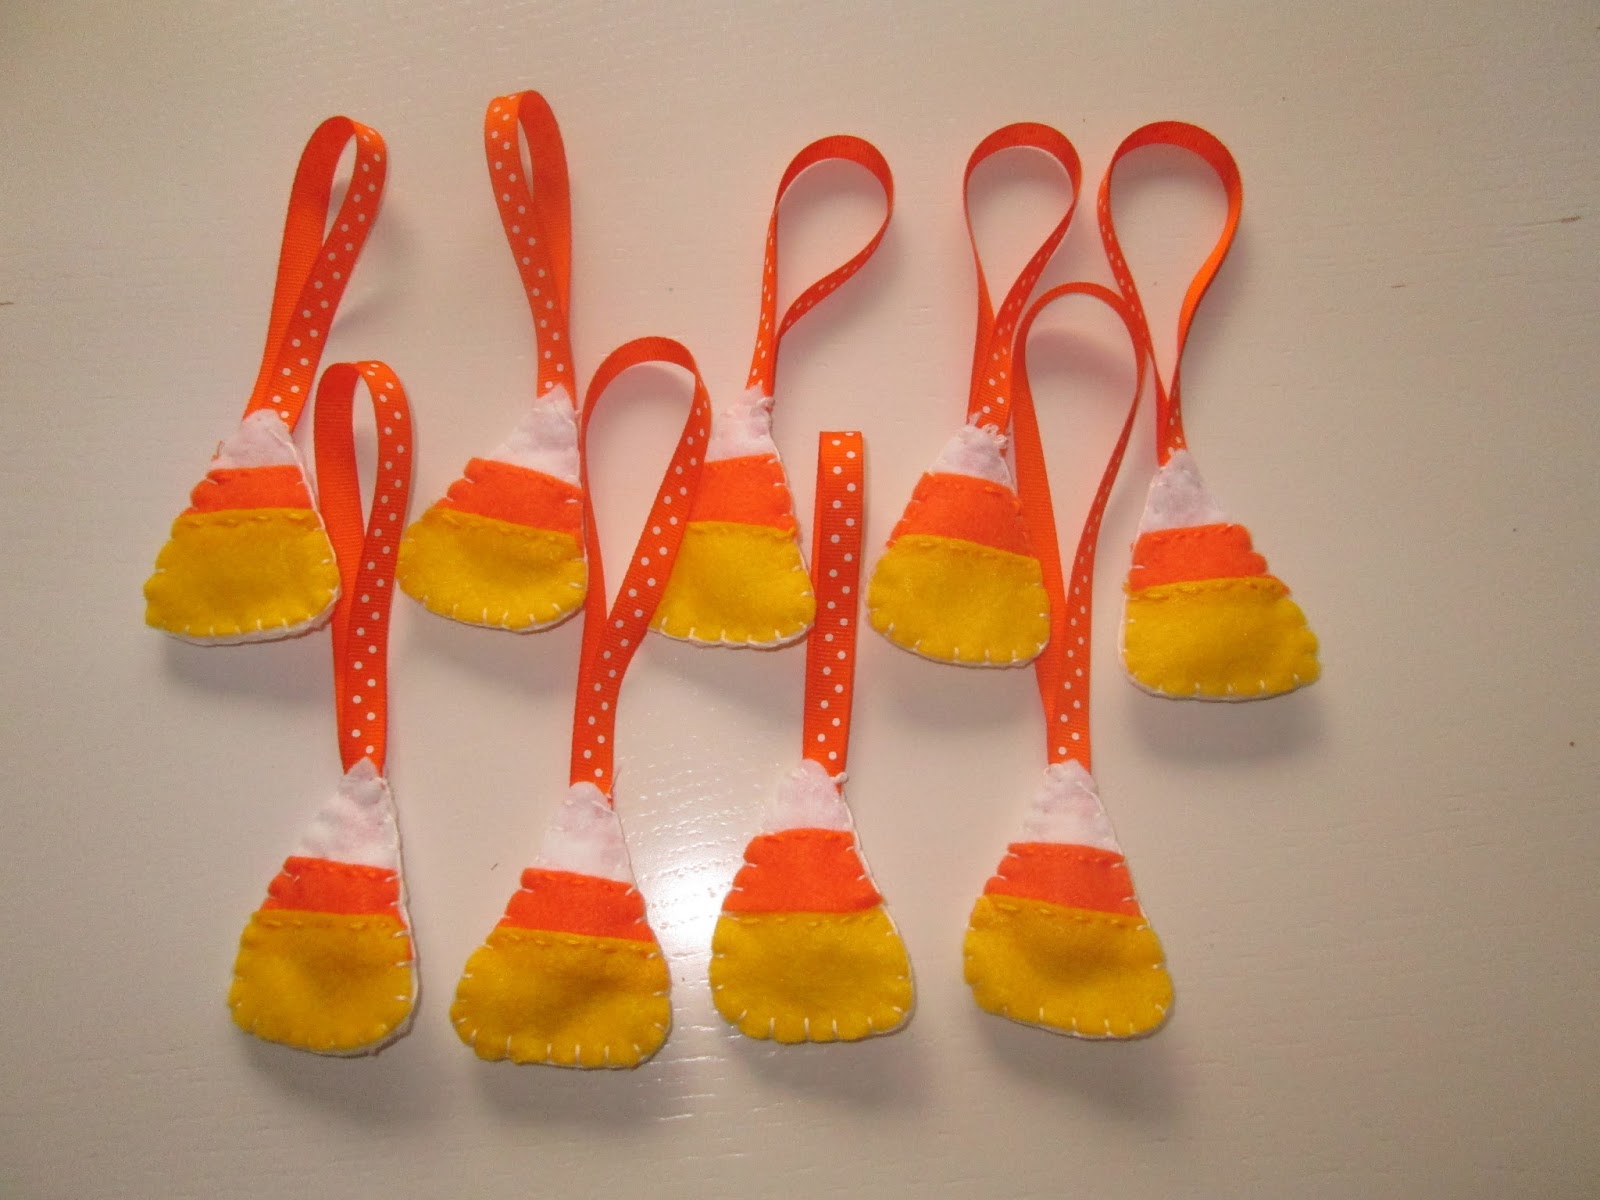
I made 50 of these little felt candy corns for Meals on Wheels. I thinks they would make an awesome banner on a long ribbon or tied onto a gift box for an October birthday gift.

Supply List:

white felt

orange felt

yellow felt

orange thin ribbon

yellow embroidery thread

white embroidery thread

orange embroidery thread

scissors

needle

stuffing or cotton balls

template from www.feltwithlovedesigns.com


Directions:

Cut out all of the pieces using the Halloween template from Felt with Love Designs.  She actually  sewed a happy face onto her candy corns.  Since I was making 50 candy corns I  had to delete that step.

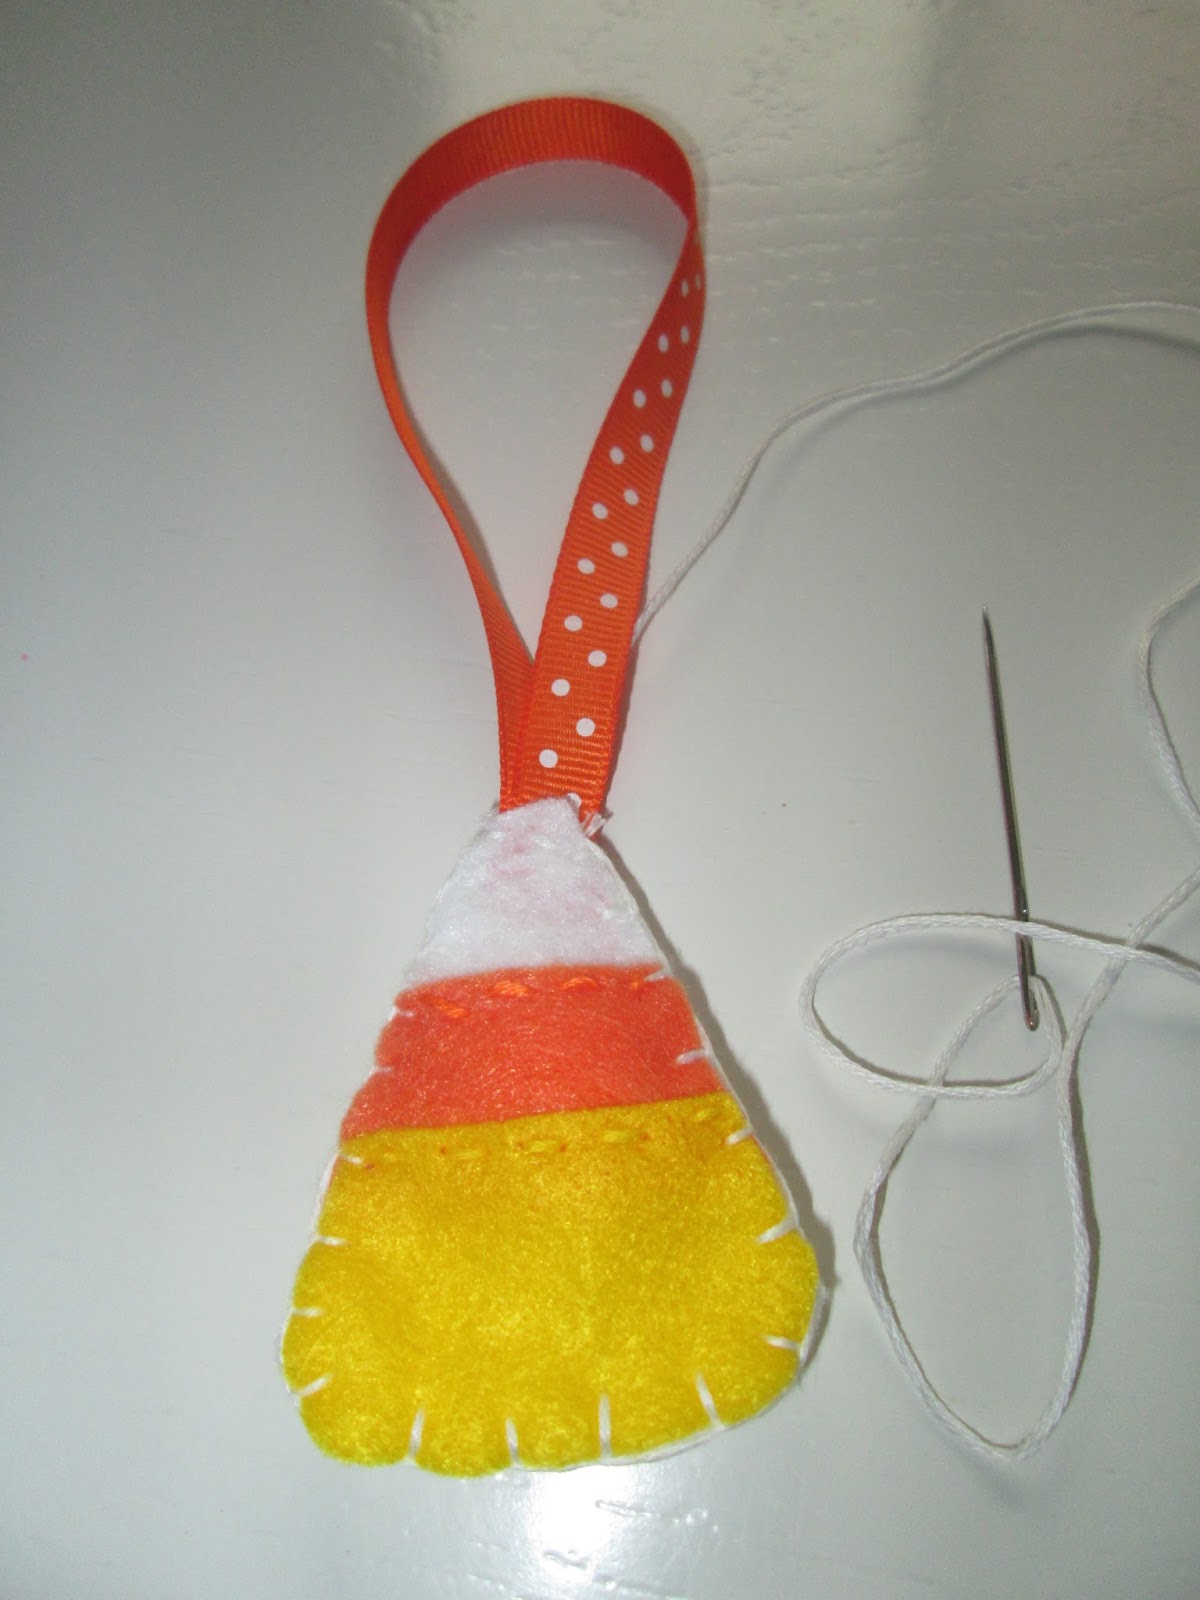
 Using the orange thread sew the orange piece onto the front piece of the candy corn using a running stitch.


The sides of the orange don't need to be sewn - just the top and bottom.


Sew the yellow piece overlapping the orange piece. Just sew the top of the yellow piece using the yellow thread and a running stitch.


Since I was making 50 of these little candy corns - I worked in batches.


Once the front piece is sewn with both the yellow and orange - you will need a solid pice of white triangle felt, a 8-inch piece of ribbon and a little stuffing or cotton ball.


Sew the front piece to the back piece using white thread  and a blanket stitch- before sewing the candy corn shut sew the ribbon into a loop and add a little stuffing or a cotton ball.


I feel so organized that I completed the Meals on Wheels Halloween treat in September!


Friday, October 28, 2016

Bats Made From Hershey Nuggets


Today I got into a Halloween mood! I made these cute little bats and it took about an hour to make 24 bats.

Supply List:

black card stock

scissors

Hershey nuggets

2" scalloped circle punch

white pen

small glue dots

small goggled eyes

Directions:

Cut a piece of black card stock into a 1" x 2 1/2" strip and punch a black circle. Cut the circle in half.


Wrap the strip around the Hershey nugget and tape into place.


Using a small glue dot adhere the googley eyes. And using the white pen draw the fangs.


Use the glue dots again the adhere the bat wings. What a simple project! 


I also piped some spiders onto my homemade chocolate chip cookies! Feeling spooky! Happy Halloween.

Monday, October 17, 2016

Candy Corn Balls


These little candy corn balls are simple to make and really cute to make for classroom or team treats.


When buying the Christmas ornaments to put the candy corn in - buy the plastic ornaments instead of the glass. The little silver top can be taken off and filled with candy corn.


I used this mini candy corn to fill the plastic balls and I bought it at Target.


These candy corn balls can be used to decorate a chandelier or staircase. 


I don't like Halloween decorations that are bloody and scary. I prefer pretty and playful decorations.


The entry way hutch - this year I am all about the orange! Last year I only bought white pumpkins!


I am loving the orange coordinating with the blue this year! Happy Halloween!

Wednesday, October 12, 2016

Pumpkin Keychains for Meals on Wheels


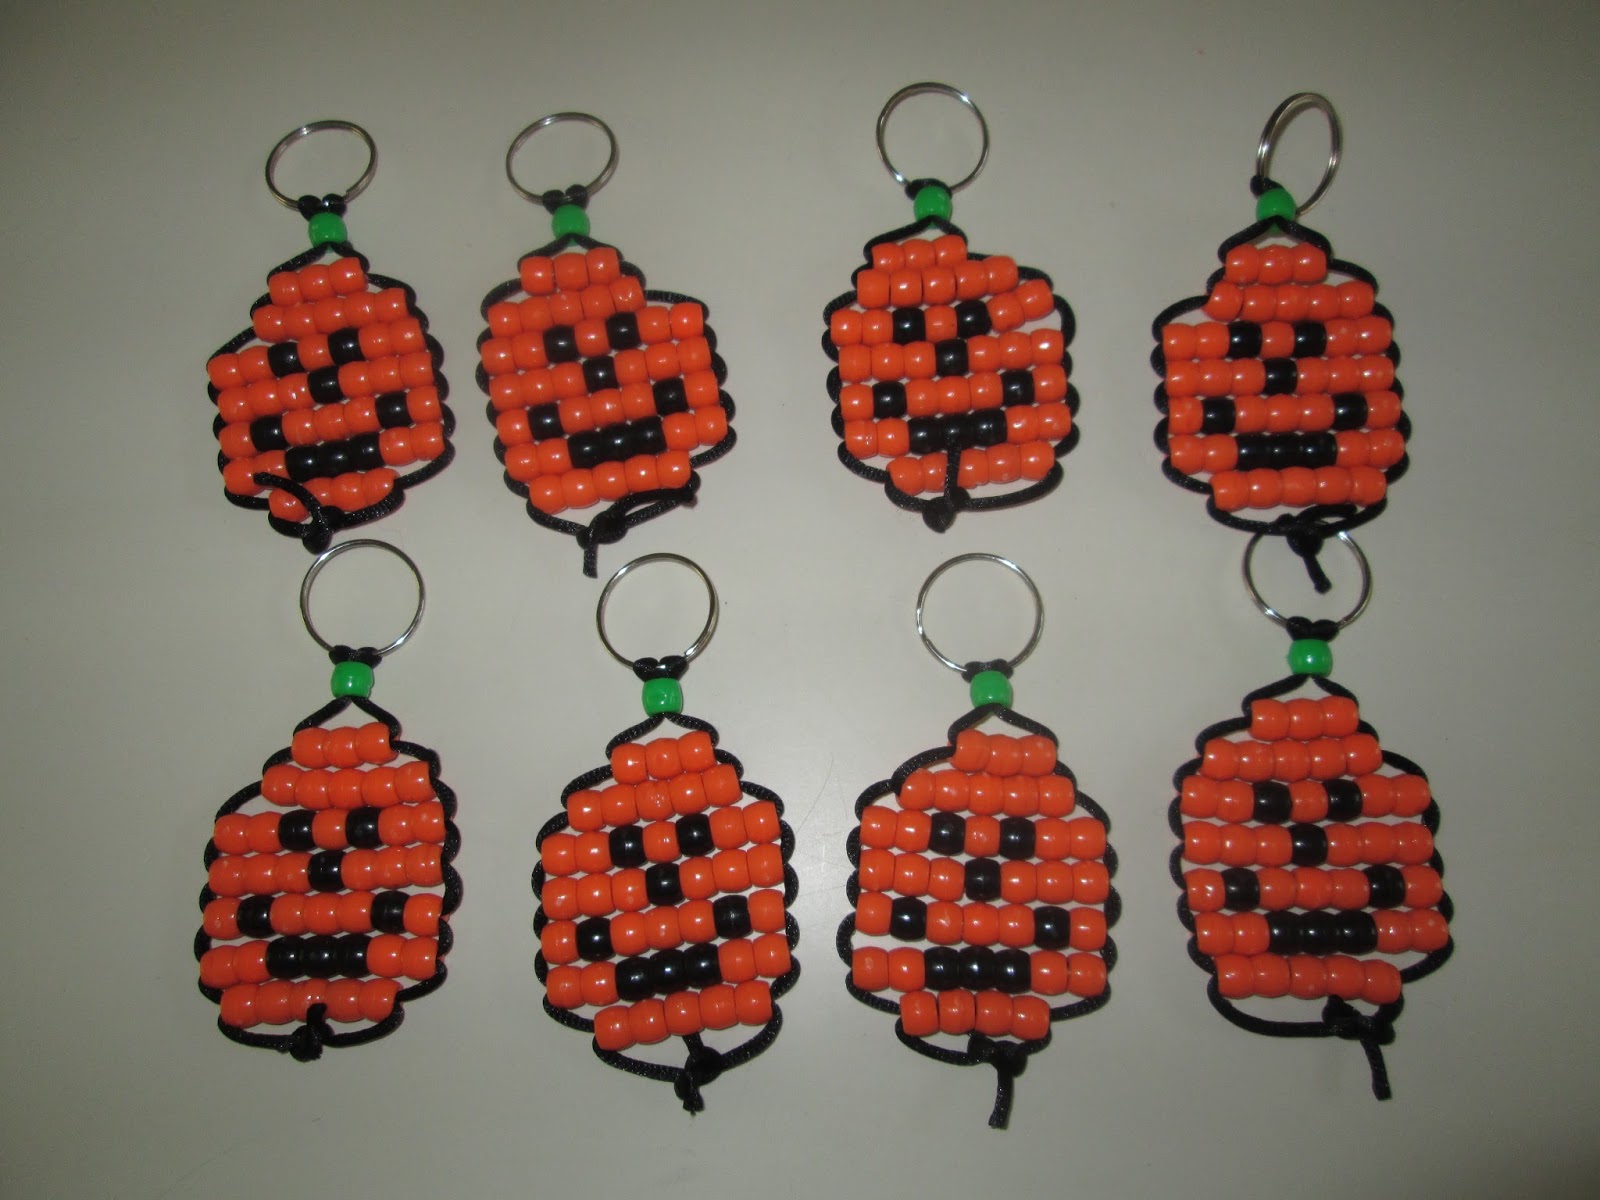
I made 50 of these little beaded pumpkin keychains for Meals on Wheels. They were a lot of fun to make!


I made them whenever I sat down to watch television.


I ordered a 50 pack of little pumpkin key chain kits from oriental trading and each kit came with the cord, keychain loop and beads.


Each kit also came with an instruction sheet.


Aren't these cute? Happy Halloween!

Wednesday, October 28, 2015

Tombstone Peeps


I have packaged Peeps almost every holiday. It is such a simple project. This Halloween I packaged the Tombstone Peeps.


The Halloween Peeps also come in pumpkins and ghosts. i simply package the peeps in cellophane bags and tie them with a coordinating ribbon.


These Peeps would also look on top of cupcakes. 


This is a super easy party favor for the classroom or sports team. Boo!


Friday, October 23, 2015

Candy Men


I make candy men every year for Halloween. This year I made them for the first grade Religion class that I was substitute teaching. 


Each Candy Man needs a square body - Nerds and Dots also come in a box. Then a chocolate pumpkin head and two arms and legs. Then you just use a glue gun to adhere everything.

The first graders loved them! These would be cute to make for the classroom, sports team or trick or treaters.

Wednesday, October 21, 2015

Eyeball Halloween Treat


This is a quick and easy project. You will just need three items - Dove eyeball chocolates, pretzel bags and coordinating  ribbon.


I bought the Dove milk chocolate eyeballs at Target. Each bag of eyeballs makes 3 pretzel bags. I happened to have pretzel bags in my craft cabinet - but they sell pretzel bags at all craft and party stores. Then you just need to tie the bags with a coordinating ribbon.


If you bring someone the eyeball chocolates and a witches broom pen - it's a trick and treat!

Saturday, October 17, 2015

Halloween Spa Mask Party Favors


I found this Halloween "mask" idea on the eighteen25.com blog. The little tags are a free download for personal use only. I used a glue stick and glued the tag to a piece of scrapbook paper. This was an easy and inexpensive idea.

Supply List:

Computer/printer

Scissors

Glue stick

Face mask

Cellophane bags

Coordinating scrapbook paper

Stapler/staples

Directions:

Go on to the eighteen25.com blog and print out the Halloween "mask" tags,


They print out with four to a page. Cut them into the squares.


Glue stick the tags onto a piece of coordinating scrapbook paper.


I bought the face masks at Target. I bought the green masks because I think they looked the most "Halloween."


The last step is to insert the mask into the cellophane bag and staple the tag to the top of the bag. I happened to have the scrapbook paper and cellophane bags in my craft cabinet - but you could buy these items at any craft or party store.

I made these for a tennis team good luck treat. I think they are a super cute party favor!

Wednesday, October 14, 2015

Witches Brooms Pens Made Easier


When I made the Witches Broom pens for Meals on Wheels - I glue gunned a piece of raffia around the top of the pen.

Instead of glue gunning the raffia I decided to use a piece of contrasting tape. This was a lot easier! And I think it looks cute! See the directions under the Witches Broom pens for Meals on Wheels. Then you can decide to glue gun the raffia or just add the contrasting tape.

Saturday, October 10, 2015

Chocolate Chip Cookies with Eyeballs


I had some large eyeball sprinkles and decided to add them to my chocolate chip cookies. I think I bought these sprinkles at Michael's. But I am sure that you could buy them at any party or craft store.


I just used the Tollhouse chocolate chip cookie recipe. Then I added the eyeballs on the top of each cookie. 


Each cookie came out with a few eyeballs on top. Whose eyeball is this? Spooky!


These eyeball cookies who be cute for the classroom, sports team or make the perfect after school treat!


Wednesday, September 30, 2015

Witches Broom Pens for Meals on Wheels


Supply List:

Pens with black lids

Washi tape in orange and black designs

Raffia

Transparent tape
   
Hot glue and glue gun

Sharp scissors


I bought the pens at Target. But they can be purchased at any drugstore or office supply store.


I purchased the orange tape at Michael's and the black tape at Hobby Lobby. 


The raffia is also from Hobby Lobby.


The first step is to remove the end cap and cut a piece of tape almost to the end of the pen to the top of the pen - pressing lightly. Then cut another piece the same size and press it on the other side of the pen. Put the lid back on and keep going until all of your pens are wrapped in tape. This step took awhile since I am making 50 pens.


Now I add the raffia to the end of each pen with tape. This can get tricky and sticky. 


Lay a 3-inch piece of tape with the sticky side facing up and start adding 3 to 4-inch pieces of raffia.


Carefully roll the tape several times around the top of the pen.


Cut another piece of raffia about 5-inches long and glue gun it around the end of the raffia. It adds that little extra piece of the broom.


Here is a closeup of the top of the brooms.


I am going to package these pens in plastic pretzel bags. Hopefully I will remember to post a picture of the packaging. 

But if you were going to make them for a party, school or team party favor they would look cute in a basket or bowl.