Showing posts with label Peace. Show all posts

Thursday, December 1, 2016

Peace on Earth Ornament - Day 1 of the Twelve Days of Ornaments


This is one of my favorite ornaments! I especially love the meaning of the ornament. Let there be Peace on Earth and let it begin with me. If we all loved and respected each other the world would be a  better place.

Peace on Earth will come to stay, when we live Christmas everyday.


Supply List:

blue felt

circle to trace

black pen

green felt

peace sign bead

blue embroidery thread

green embroidery thread

needle

scissors

thin blue ribbon

Directions:

Trace circles onto the blue felt with the black pen. I traced a medium sized water glass.


Carefully cut out the blue felt circles.


Each ornament needs two felt circles. Only the top circle is decorated.


Cut out odd shaped green felt pieces and sew them onto the front piece of the blue felt with green thread. Also sew on the Peace sign bead. I bought the Peace sign beads at Michael's.


Sew the front piece onto the back piece with blue thread. At the top of the ornament sew the thin ribbon into a loop.


Glory to God in the highest and on earth peace, goodwill toward men. Luke 2:14

Thursday, November 17, 2016

Fall Themed Bracelets - Thanksgiving Party Favors


I started making some Fall themed bracelets for Thanksgiving party favors. These could also be made into napkin rings,

These are so fun to make - I spend the afternoon beading.

Supply List:

Stretch Magic elastic 

Beads in fall colors

One large bead for each bracelet

Scissors

Clear nail polish

Directions:


Cut a 10 or 11-inch piece of Stretch Magic and tie an odd bead about one inch onto the end of the string.

Start with the large bead and then add the fall themed beads. remove the odd end bead. When the bracelet is the desired sized tie off several times as close to the big bead as possible.


Add a dab or two of clear nail polish to the knot. Let the nail polish dry. Test the bracelet on your wrist. Then cut the ealastic as  close to the big bead as possible.


I also made some peace sign bracelets.


I was thinking of making some Christmas bracelets and tie them onto packages.

Happy Thanksgiving!


Wednesday, April 15, 2015

Peace Sign Hershey Bars


Today I am substitute teaching my favorite 5th grade Religion class. I mentioned in the peace Sign necklace post that I am using the Peace Sign to reinforce the message that Jesus says to his disciples after the Resurrection. Jesus says to them, "Peace be with you." So I wrapped some Hershey bars in bright colored scrapbook paper. I added Peace sign stickers and glued on some Peace sign beads. I think they came out super cute.


I used the standard size Hershey bar. But the Hershey bars come in a snack size and jumbo size. Another flat candy bar that is fun to wrap is the Kit Kat bar. These bars could be made for team, classroom treats or a birthday party favor. Scrapbook paper comes in every color and you can find stickers or beads in almost any theme.

Once you get your candy bars - cut out a pattern out of plain white paper. Then cut out the scrapbook paper and tape the scrapbook paper around the candy bar.


The stickers and beads really make the candy bars look fun. But you could add flower or baseball stickers - whatever you or your child would enjoy.


I think my 5th graders will really like this treat! Peace be with you!


Sunday, April 12, 2015

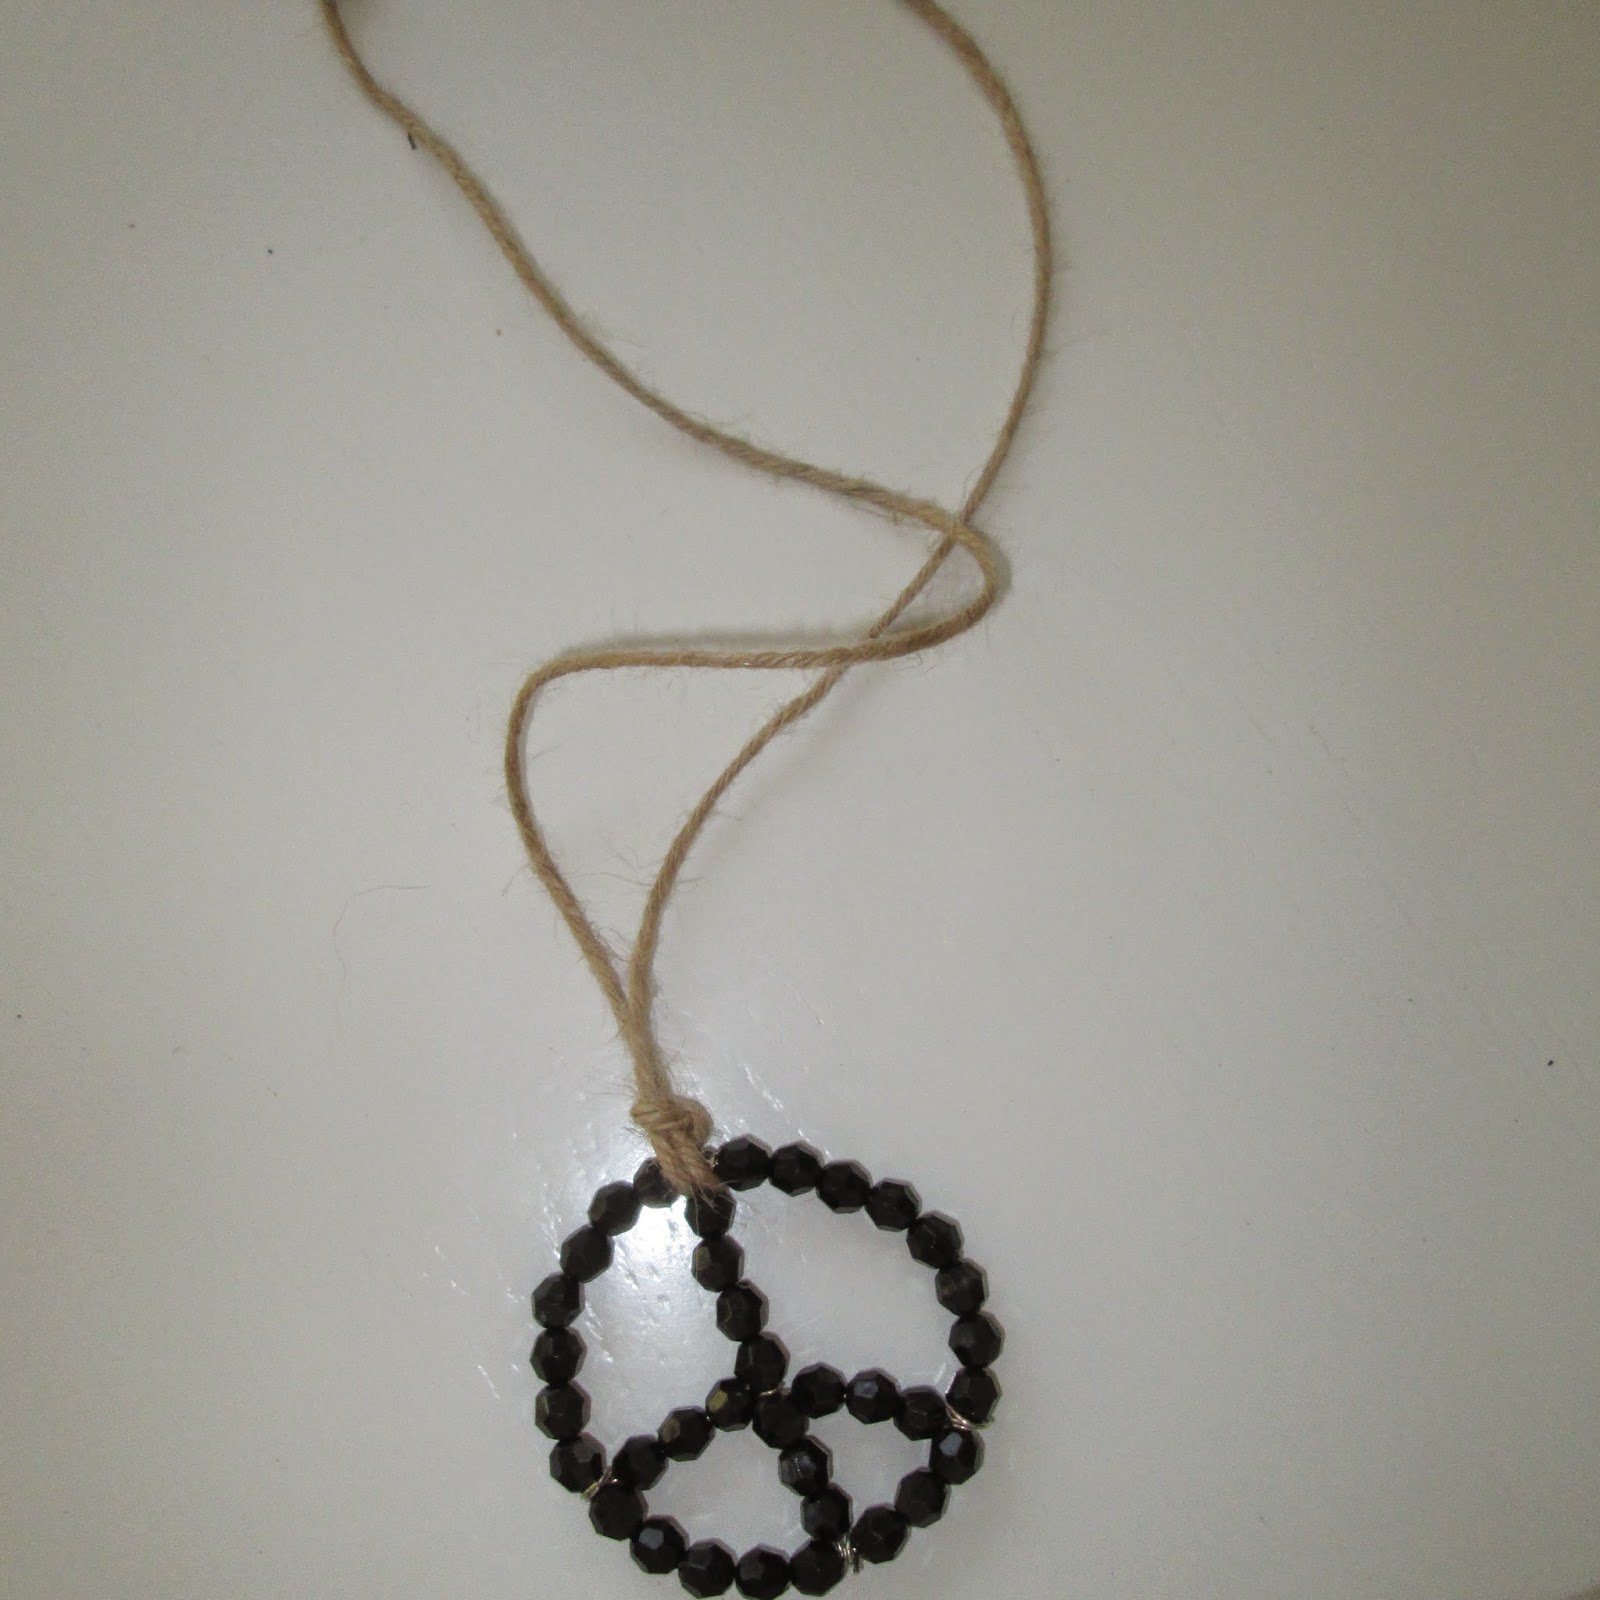
Peace Sign Necklaces

I have been asked to substitute teach my favorite 5th grade class this week. The lesson is the third Sunday of Easter - the Gospel of Luke 24:35-48.  The Gospel is basically after the resurrection when Jesus comes into the locked room where his disciples were gathered and said, "Peace be with you."

So to reiterate the "Peace be with you" message I made the classroom some peace Sign Necklaces.


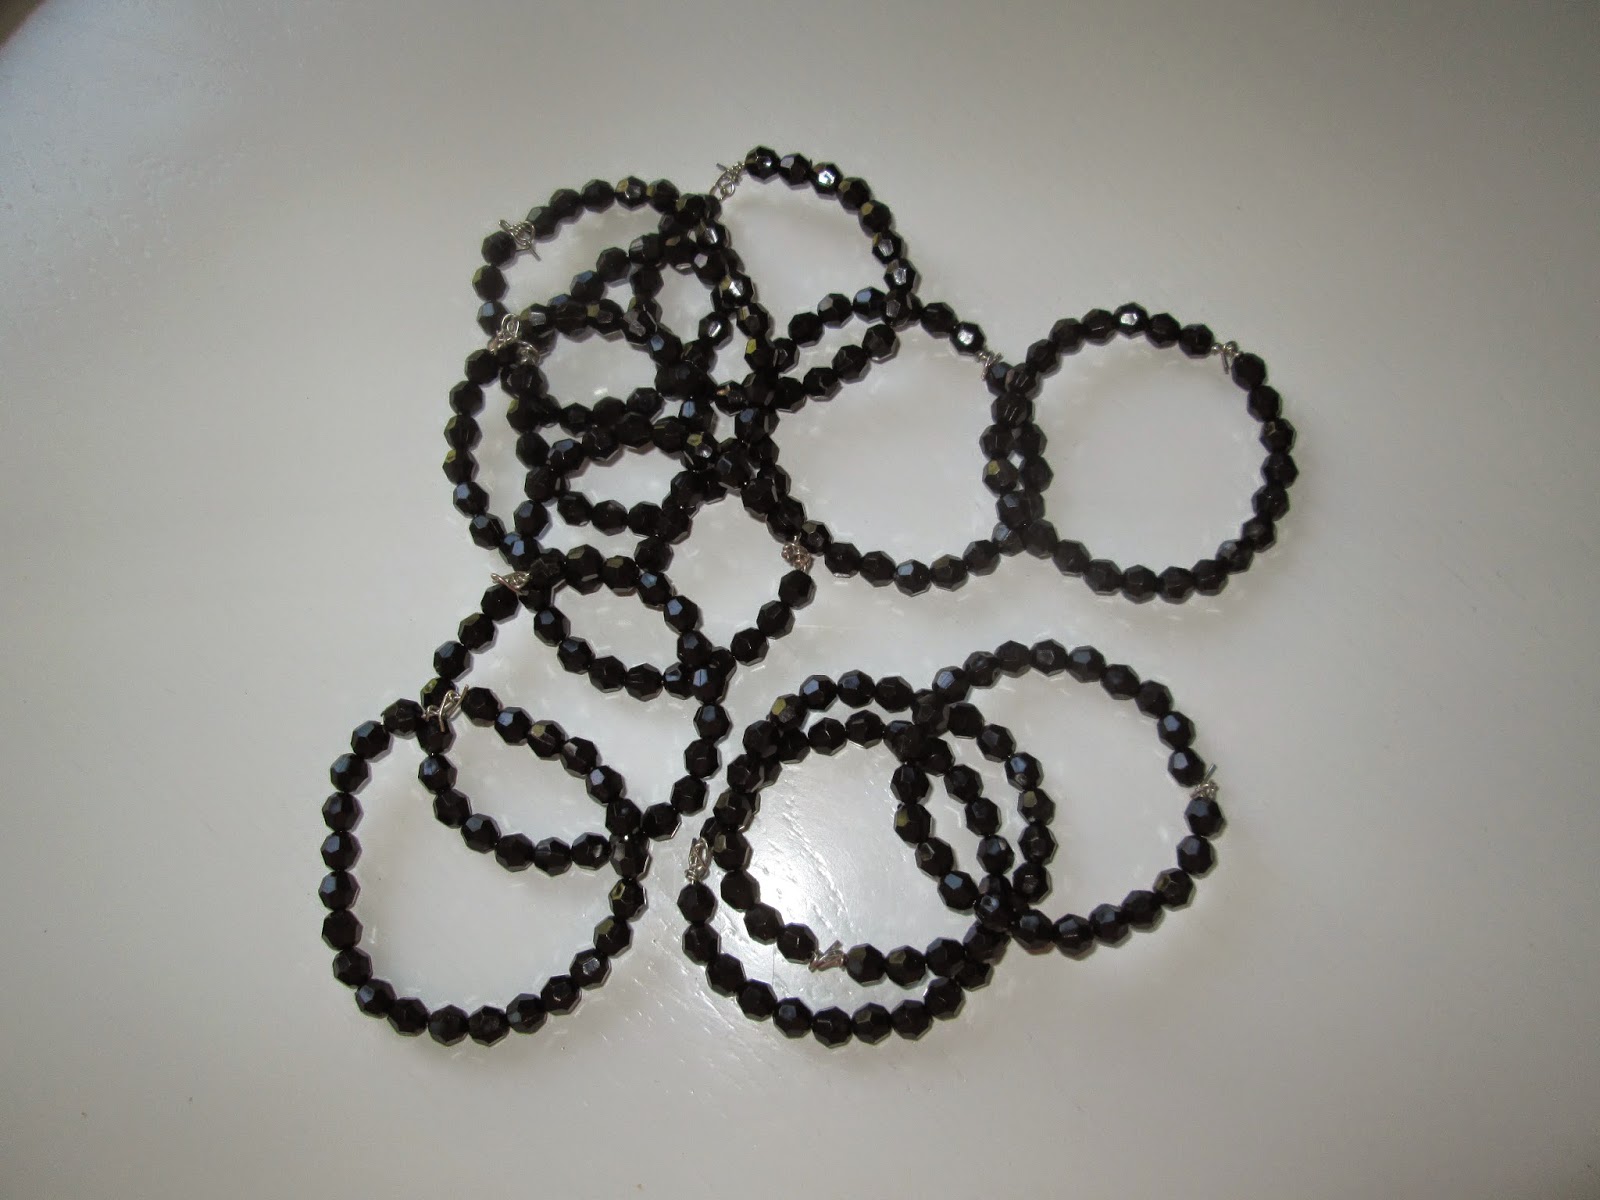
To make these necklaces you just need a few things - beads, wire, scissors, twine and a long nose pliers. I was actually thinking these would be cute to make in bright colors and tied onto wrapped gifts.

I already had the twine, scissors and pliers - so I just needed to buy some wire and beads.


I bought the wire and beads at Michael's. 


I used these pliers to wrap the wire around the beads.


Using sharp scissors cut a five inch piece of wire and thread the beads and use the plier to form a circle. 


Cut a three inch piece of wire and make a straight line down the middle of the circle. Use pliers to wrap the wire around the top and bottom of the circle.


After all the circles have a straight line cut another piece of wire about three inches long.


Twist the wire around the lower section of the straight line and add beads. Twisting each side down to make the Peace Sign.


If these were made a little larger they would make terrific Christmas ornaments. Especially if they were made in red.


The last step is to add the twine to form a necklace. A thin ribbon could also be used - but since I have boys and girls in the class I went with the twine. 

Peace be with you!